

If you are looking at old ceiling texture, pipe wrap, floor tile, or insulation and wondering whether it contains asbestos, guessing is the one thing you should not do. Knowing how asbestos sample testing works helps you make a safe decision before renovation, demolition, tenant turnover, or cleanup begins. For homeowners, landlords, and commercial property managers, the testing process is less about paperwork and more about preventing exposure, liability, and costly mistakes.
Why asbestos testing matters before any disturbance
Asbestos becomes dangerous when damaged materials release microscopic fibers into the air. Those fibers cannot be identified by sight alone, and materials that look harmless can still test positive. Age, texture, and location may raise suspicion, but they do not confirm anything.
That is why professional testing is the standard first step when a suspect material may be cut, drilled, sanded, broken, removed, or disturbed during repairs. In many cases, testing protects both health and project timelines. If asbestos is present, the work plan changes. If it is not, you avoid unnecessary abatement costs.
How asbestos sample testing works from start to finish
At a practical level, asbestos sample testing follows a straightforward sequence: identify suspect materials, collect representative samples safely, send them to an accredited lab, and use the results to decide what happens next. The details matter, though, because poor sampling can create exposure risks or produce unreliable results.
Step 1: Identifying suspect asbestos-containing materials
The process starts with a site assessment. A trained inspector looks for materials commonly associated with asbestos, especially in older properties. These may include popcorn ceilings, drywall joint compound, plaster, vinyl floor tiles and mastic, pipe insulation, vermiculite insulation, cement board, roofing materials, and some textured coatings.
Age is a clue, but not a guarantee. A building constructed before modern asbestos restrictions is more likely to contain it, yet newer buildings can still have legacy materials. The inspector also considers the condition of the material. A solid, intact material poses a different level of concern than one that is cracked, crumbling, water-damaged, or already disturbed.
Step 2: Preparing the area for safe sample collection
Before a sample is taken, the immediate area should be controlled to reduce fiber release. This is one reason professional testing is strongly recommended. The person collecting the sample may use personal protective equipment, isolate the work area, and apply wet methods when appropriate. Wetting the material lightly can help reduce dust during collection.
Depending on the material type and location, the technician may also place protective sheeting below the sampling point and use a HEPA vacuum for cleanup. The goal is simple: remove a small amount for analysis while keeping occupants and the rest of the property protected.
Step 3: Collecting representative samples
This is the part most property owners picture, but it is only one piece of the process. A small section of the suspect material is carefully removed and placed in a sealed, labeled container. The exact approach depends on the material.
For surfacing materials like ceiling texture or drywall compound, the sample needs to include the full depth of the material, not just the surface. For floor tile systems, more than one component may need testing because the tile and the adhesive can produce different results. For pipe insulation or cement products, the sample must represent the actual installed material, not loose debris from nearby surfaces.
In larger areas, multiple samples are often necessary. Asbestos content may vary from one room to another or from one section of material to the next. That is where experience matters. Too few samples can miss contamination. Too many can add unnecessary cost. A qualified inspector balances both.
What happens at the laboratory
Once collected, the samples are documented and sent to a laboratory for analysis. Chain-of-custody procedures help track where each sample came from and confirm that the sample tested is the same one taken from the property. That paperwork matters if the results will guide remediation work, contractor decisions, insurance documentation, or compliance records.
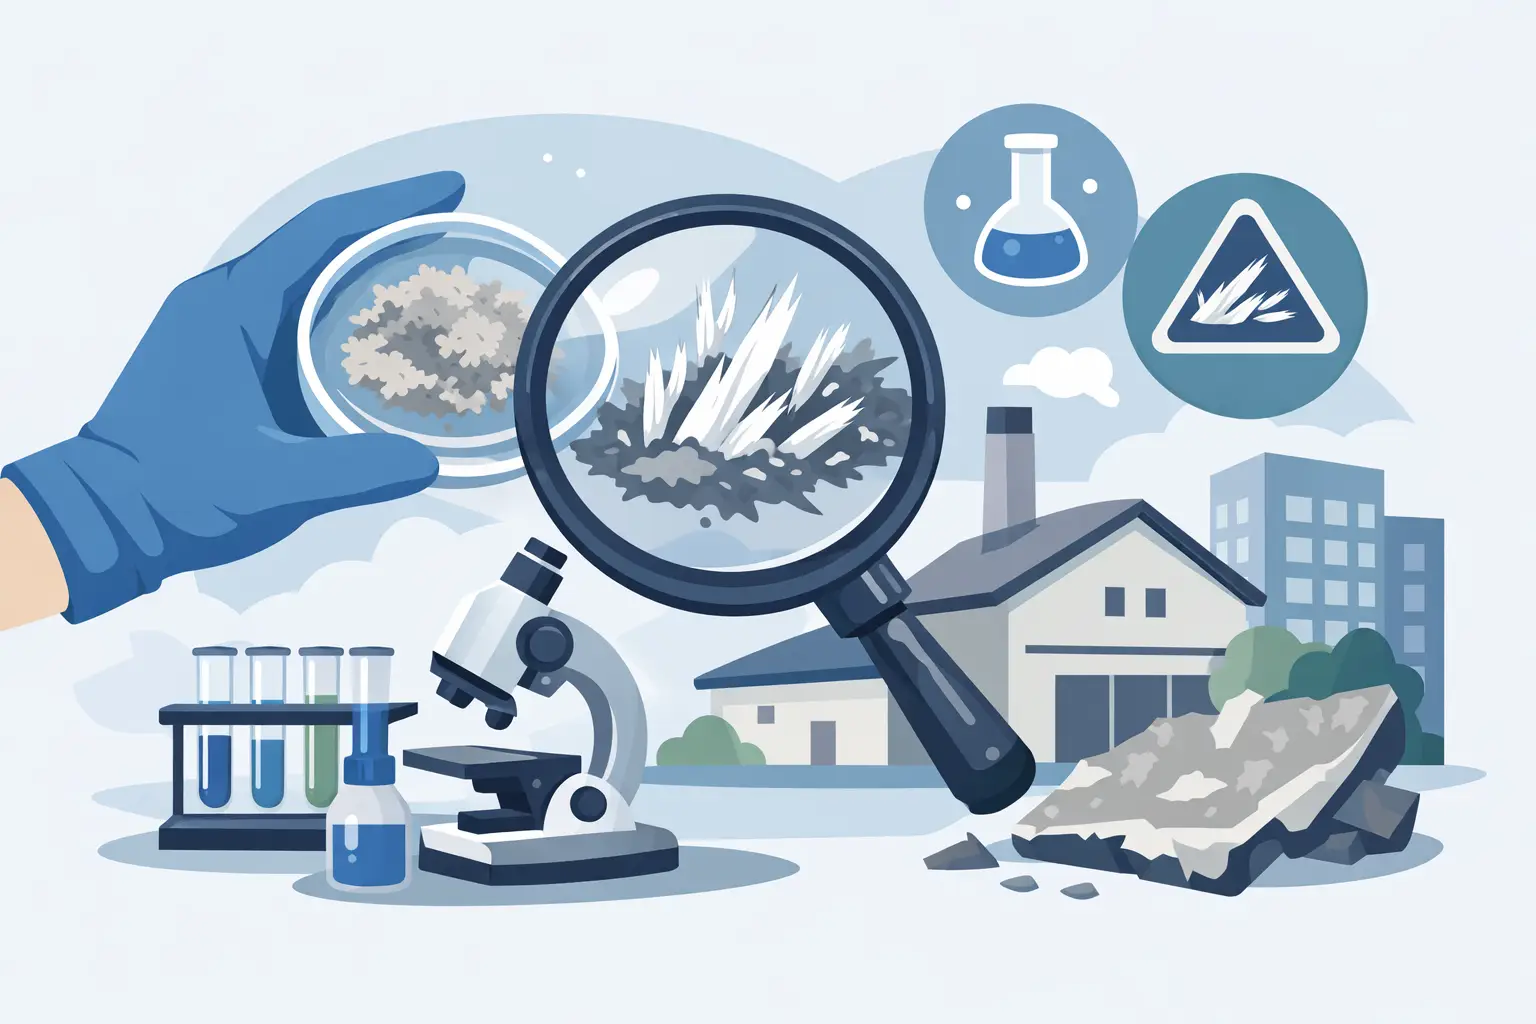
How the lab checks for asbestos fibers
The most common method for bulk material analysis is polarized light microscopy, often called PLM. In simple terms, the lab prepares a portion of the material and examines it under specialized microscopy to identify asbestos fibers and estimate their concentration.
PLM is widely used because it is effective for many building materials and can distinguish asbestos from non-asbestos fibers in bulk samples. In some cases, additional methods may be used if the material is difficult to analyze or if a more detailed result is needed. The right method depends on the sample type, the material condition, and the purpose of the test.
What the results usually show
Lab reports typically identify whether asbestos was detected, which type was found, and the estimated percentage in the material. Common asbestos types include chrysotile, amosite, and crocidolite. For most property owners, the key question is not the mineral name alone but what the result means for the building.
A positive result confirms that the material should be handled as asbestos-containing. A negative result can allow planned work to move forward without asbestos-specific controls, assuming the sampling was representative and there are no other suspect materials nearby.
How long asbestos sample testing takes
Turnaround time depends on the lab and the level of urgency. Standard results may take a few business days, while rush analysis can often be requested for time-sensitive projects. If a renovation crew is scheduled, a tenant move-in is pending, or emergency repairs are needed after water damage, timing becomes part of the testing strategy.
That said, speed should not come at the expense of proper sampling. Fast lab results are only useful when the sample was collected correctly and from the right locations.
Why DIY asbestos sampling is risky
Property owners sometimes ask whether they can cut out a piece themselves and send it to a lab. Technically, in some cases, they can. Practically, it is often a bad idea.
The main issue is exposure. Breaking, scraping, or drilling a suspect material can release fibers into the air. Without containment, protective equipment, and proper cleanup, a simple sample can contaminate a room. The second issue is reliability. If the wrong part of the material is sampled, or if cross-contamination occurs, the result may not reflect the true condition of the area.
This is especially important in occupied homes, apartment buildings, schools, offices, and commercial facilities where one mistake can affect other people. Professional collection lowers that risk and provides documentation you can rely on.
What happens after asbestos is confirmed
A positive test does not automatically mean everything must be removed immediately. The next step depends on the material, its condition, and whether it will be disturbed.
If the asbestos-containing material is intact and in a low-risk area, management in place may be appropriate. That means documenting the location, preventing disturbance, and monitoring its condition. If the material is damaged, friable, or located where renovation or repair work is planned, abatement or controlled removal is usually the safer path.
This is where a certified environmental contractor adds value. Testing is only the beginning. A complete plan may involve containment, negative air pressure, HEPA filtration, safe removal, disposal, cleaning, and final clearance steps. Mold Removal Remediation approaches these issues the same way it handles mold and indoor air hazards – identify the source, contain the risk, remove the hazard correctly, and verify the area is safe.
How to choose the right asbestos testing professional
Not all testing is equal. You want a qualified company that understands both sampling protocol and what the results mean for real-world property decisions. Certifications, documented procedures, and experience with residential and commercial environments matter.
It also helps to work with a company that can explain trade-offs clearly. For example, a landlord may need fast answers before unit turnover, while a homeowner planning a kitchen remodel may need broader sampling because hidden materials could be disturbed later. A business owner may need testing that fits around occupancy and operational constraints. The right recommendation depends on the property and the planned work.
Common misunderstandings about asbestos sample testing
One common mistake is assuming that one negative sample clears an entire property. It does not. Testing only applies to the material and area that were actually sampled. Another misunderstanding is believing that asbestos is only found in insulation. In reality, it has been used in many finishes, adhesives, and construction products.
People also tend to focus only on visible damage. Some asbestos-containing materials look stable until a contractor starts cutting into them. That is why pre-renovation testing is often more valuable than waiting for a problem after work begins.
If you suspect asbestos, the safest move is not to disturb the material and not to rely on guesswork. A proper test gives you a factual answer, a safer path forward, and a clearer understanding of what your property needs next. When health, compliance, and property value are on the line, clarity is worth getting right the first time.