

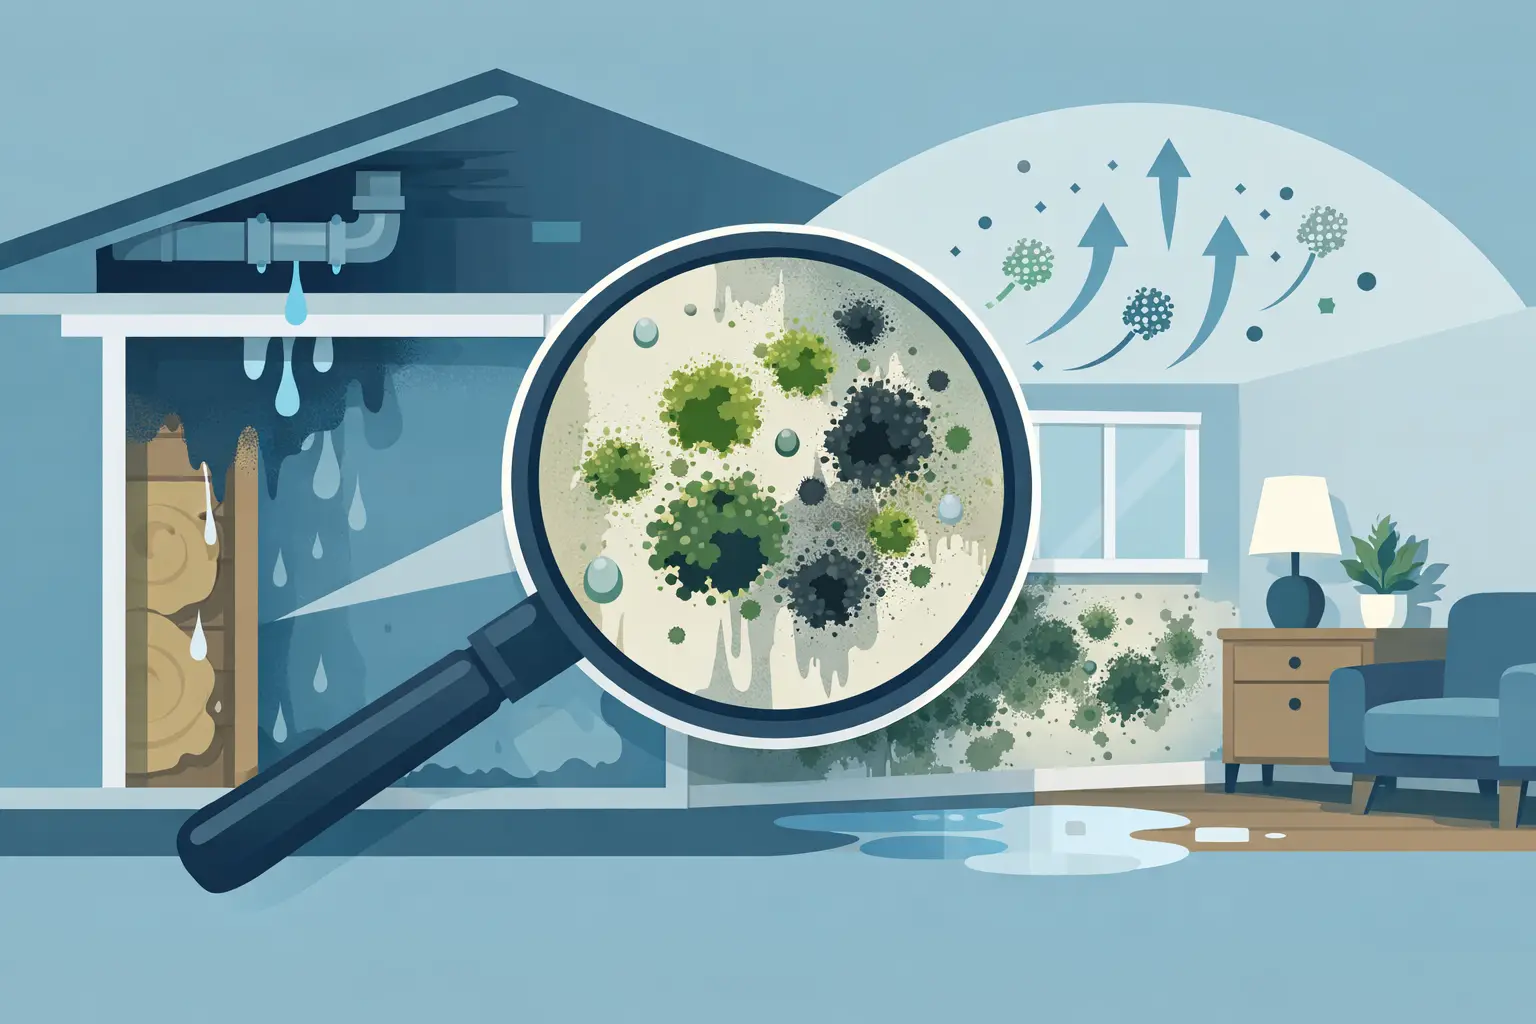
A wall can look clean, a ceiling can feel dry, and a basement can appear perfectly normal while hidden water damage mold grows behind finished surfaces. That is what makes this problem so disruptive for homeowners, landlords, property managers, and business owners: by the time visible staining or fuzzy growth appears, moisture may have been affecting building materials for weeks or months.
Mold needs moisture, a food source, and time. Drywall paper, wood framing, carpet backing, insulation, dust, and ceiling tiles can all support growth after a leak, flood, plumbing failure, or condensation issue. The right response is not to paint over a stain or spray a scented cleaner. It is to find the moisture source, assess the affected area, remove contamination safely, and verify that indoor conditions have returned to normal.
Where Hidden Water Damage Mold Usually Begins
Hidden mold is most often a symptom of water moving where it should not. Slow plumbing leaks under sinks, behind refrigerators, around toilets, and inside walls are common causes. So are roof leaks, failed window seals, foundation seepage, clogged drains, overflowing appliances, and water intrusion after severe weather.
Some moisture problems are less obvious. Cold surfaces can collect condensation when indoor humidity is high or insulation is inadequate. Bathrooms without effective exhaust ventilation, poorly vented laundry areas, and HVAC systems with drainage problems can create repeated dampness without a single dramatic flood event.
Finished spaces are especially vulnerable because walls, flooring, and cabinetry can hide the first signs. A small leak beneath a kitchen cabinet may saturate subflooring. Water entering around a basement foundation can wet insulation behind a framed wall. In a commercial property, a leak above a drop ceiling may affect ceiling tiles, ductwork, and stored materials before anyone notices an odor.
Signs of Hidden Water Damage Mold
A musty odor is one of the most meaningful warning signs. Mold does not always produce a strong smell, and odors can have other sources, but a persistent earthy or damp smell should not be dismissed simply because no mold is visible.
Other warning signs include recurring stains on ceilings or walls, bubbling paint, peeling wallpaper, warped baseboards, soft drywall, buckling floors, and unexplained condensation. In basements and crawl spaces, look for damp insulation, white mineral deposits on masonry, rusted metal components, or consistently humid air.
Health symptoms can also prompt an investigation, particularly when they seem to improve outside the building. Nasal irritation, coughing, wheezing, itchy eyes, skin irritation, and aggravated asthma may be associated with poor indoor air conditions. These symptoms do not prove mold exposure, and they should be discussed with a qualified healthcare provider. They do, however, make it more urgent to identify moisture and contamination concerns inside the property.
For landlords and property managers, recurring tenant complaints about odors, condensation, or respiratory irritation deserve timely attention. Waiting for visible mold can turn a contained repair into a larger remediation project and may expose more building materials to damage.
Why Surface Cleaning Is Often Not Enough
When mold is growing on a nonporous surface because of a minor, isolated moisture event, careful cleaning may be appropriate. But hidden water damage is different. If drywall, carpet, insulation, particleboard, or other porous materials remain wet or contaminated, cleaning the visible surface does not address the material behind it.
Painting over water stains or applying bleach to visible spots can create a false sense of security. Paint may temporarily cover discoloration, but it cannot dry a wall cavity or repair a plumbing leak. Bleach is also not a complete remediation method for porous materials. It does not remove damaged drywall, restore wet insulation, or prevent regrowth when moisture remains.
The trade-off is straightforward: a quick cosmetic repair may cost less today, but it can allow hidden damage to progress. Proper remediation may require opening a limited section of wall, removing affected materials, and setting up containment. That work is more involved, yet it gives the moisture problem and contamination a real path to resolution.
How a Professional Inspection Finds What You Cannot See
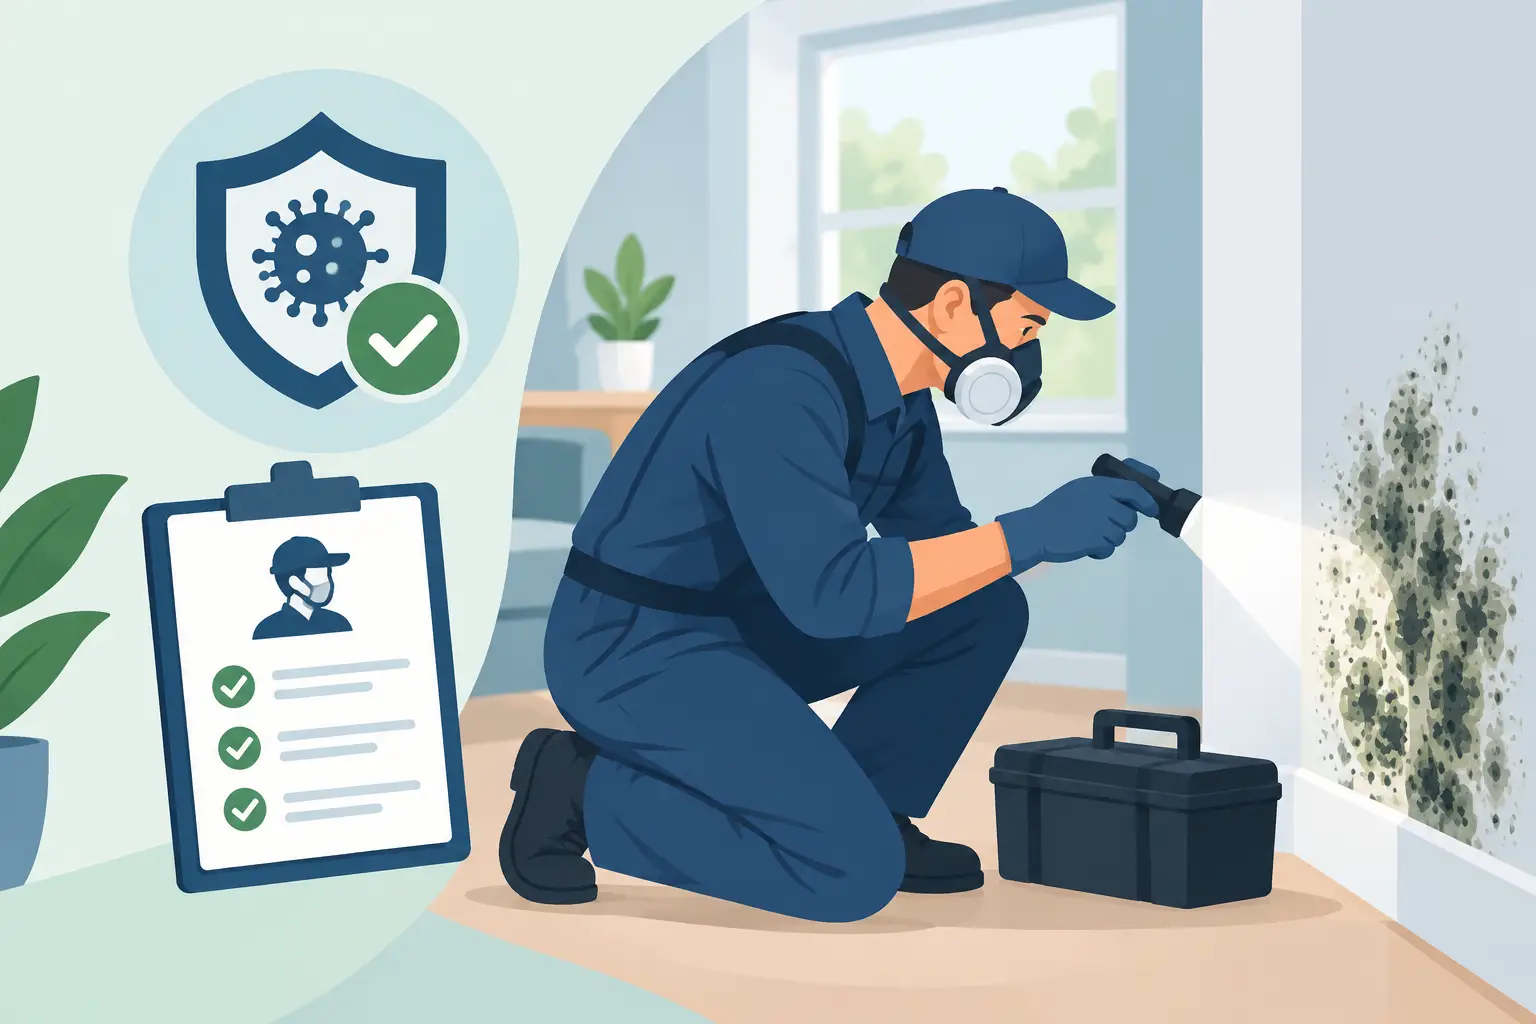
A qualified mold inspection begins with the property history. An inspector should ask about past flooding, plumbing repairs, roof leaks, odors, humidity, prior mold growth, and the locations where symptoms or damage occur. This context helps direct the investigation instead of relying on guesswork.
Professional tools can then identify conditions behind finished surfaces. Moisture meters help locate elevated moisture in drywall, flooring, wood, and other materials. Thermal imaging can reveal temperature differences that may indicate damp areas, missing insulation, or active water intrusion. Visual inspection of utility rooms, attics, crawl spaces, plumbing access points, and HVAC components can uncover the source.
Air quality testing or targeted sampling may be recommended when contamination is suspected but not visible, when occupants report health concerns, or when documentation is needed for a commercial property, insurance matter, or post-remediation verification. Testing is useful when it answers a specific question. It should support a thorough inspection, not replace one.
At Mold Removal Remediation, certified technicians use moisture detection and containment-focused assessment methods to determine the scope of a problem before recommending removal. The goal is to avoid both underestimating damage and tearing apart unaffected areas unnecessarily.
What Proper Mold Remediation Looks Like
A professional remediation plan depends on the location, amount of contamination, materials affected, and whether the moisture source has been stopped. A small, accessible area may need limited removal. A larger area behind walls, beneath flooring, or above ceilings may require more extensive containment and controlled demolition.
The process typically starts by correcting the water source. That may involve plumbing repair, roof repair, drainage improvements, sealing a water entry point, or correcting ventilation and humidity issues. Without this step, mold can return even after excellent cleanup.
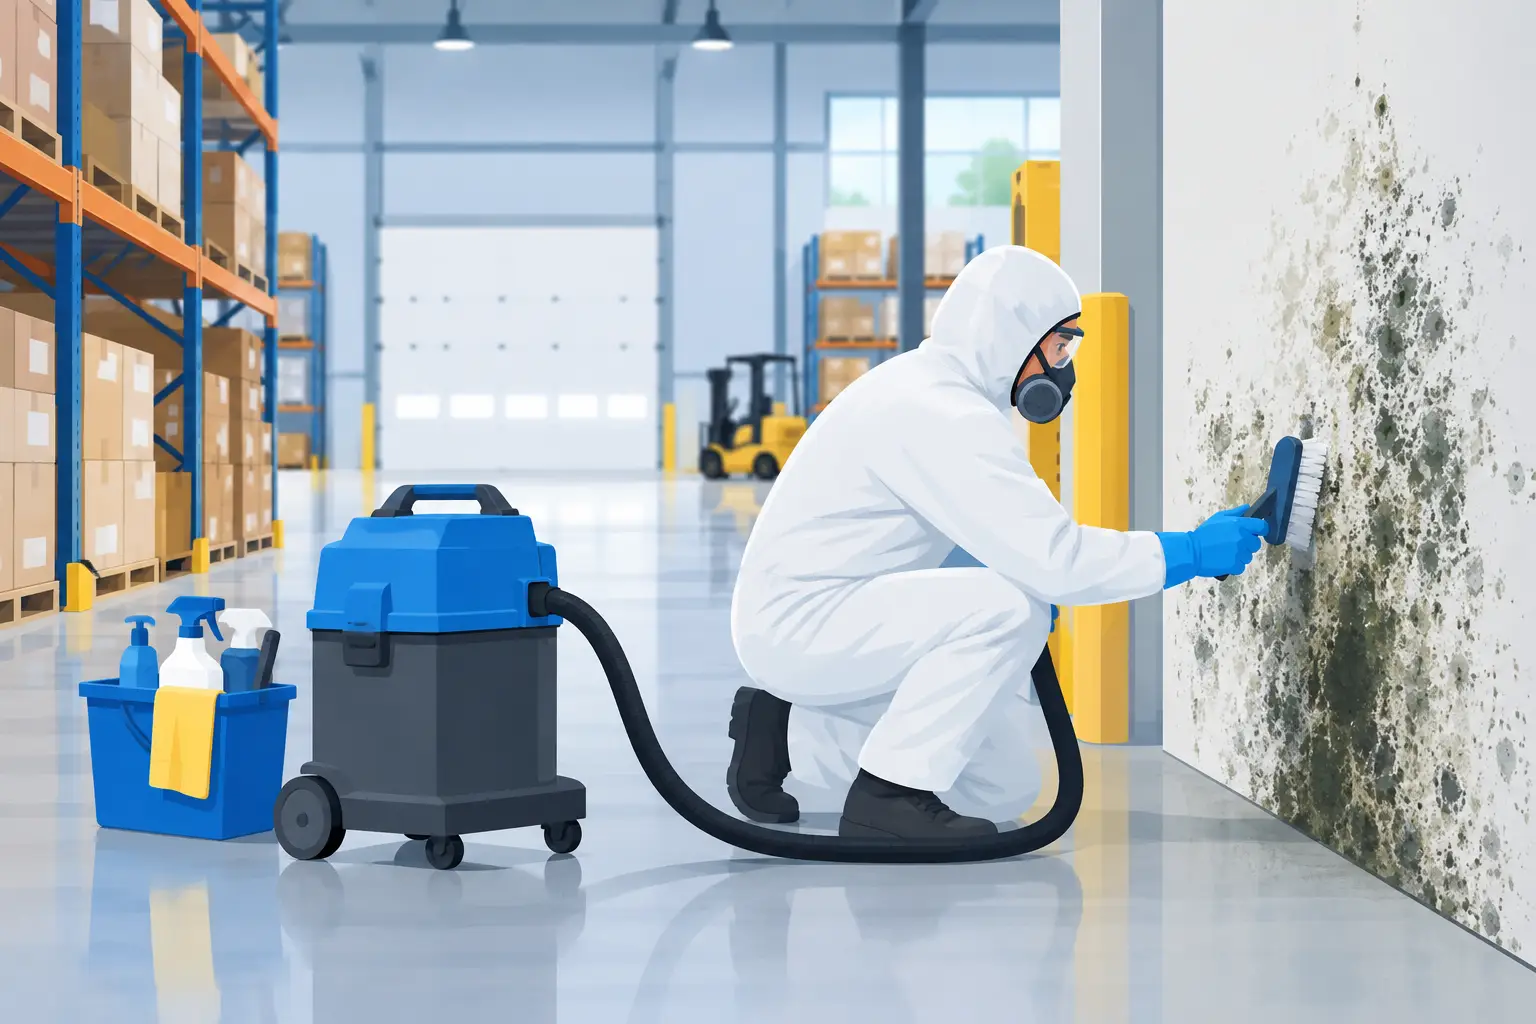
Next, the affected work area is contained to reduce the chance of particles spreading into clean rooms. Certified remediation teams may use plastic barriers, negative air pressure, and HEPA-filtered air scrubbers. Porous materials that cannot be safely cleaned are removed, while salvageable structural components are cleaned using appropriate methods.
After removal and detailed HEPA vacuuming, affected surfaces are cleaned and dried to acceptable moisture levels. Depending on the project, post-remediation inspection or air quality testing can help confirm that the area has been properly addressed before reconstruction begins. This is especially valuable after a significant loss, in occupied commercial spaces, or when residents need added confidence that the work was completed thoroughly.
When to Act Immediately
Time matters after a water event. Clean water from a minor supply-line leak may be manageable if it is stopped, extracted, and dried quickly. Water that has sat for more than a day or two, soaked into porous materials, or originated from sewage, a flood, or contaminated water requires more caution.
Arrange a professional assessment promptly if you find a recurring leak, widespread staining, a strong persistent odor, soft building materials, visible mold larger than a small isolated patch, or water damage near HVAC systems. Immediate action is also advisable when children, older adults, people with asthma, or immunocompromised occupants are regularly using the affected space.
Do not disturb suspected mold inside a wall or ceiling by aggressively cutting, sanding, or pulling materials apart without containment. That can spread contamination into living or working areas. If a leak is active, stop the water if it is safe to do so, move valuables away from the area, and document the damage before repairs begin.
Preventing the Next Moisture Problem
Prevention is less about expensive products and more about regular attention to moisture. Repair leaks quickly, use bathroom and kitchen exhaust fans, maintain gutters and downspouts, keep indoor humidity under control, and inspect vulnerable areas after storms or appliance failures. Basements, attics, utility rooms, and areas beneath sinks should be checked routinely because they often reveal small problems before they become major ones.
If something smells damp, looks stained, or feels soft, trust the signal and investigate early. A careful inspection can protect the building, the people who use it, and the value of the property long before hidden damage becomes a visible crisis.