

A mold problem rarely starts with a dramatic black patch on the wall. More often, it starts with a musty smell in the basement, a water stain that never fully dried, or tenant complaints about coughing and headaches. That is exactly why a certified mold remediation process matters. It is not just about cleaning what you can see. It is about finding the moisture source, controlling cross-contamination, removing damaged materials safely, and confirming the space is clean enough to return to normal use.
For homeowners, landlords, property managers, and business owners, the biggest mistake is assuming mold can be wiped away like dust. Surface cleaning may improve appearance for a short time, but it does not solve hidden growth inside drywall, insulation, subfloors, ceiling cavities, or HVAC-adjacent spaces. Certified remediation is designed to address the full problem, not the visible symptom.
What a certified mold remediation process actually means
A certified mold remediation process follows industry standards, safety controls, and documented procedures rather than guesswork. In practical terms, that means trained technicians assess the scope of contamination, use specialized tools to detect hidden moisture, isolate the affected area, remove contaminated materials when necessary, clean remaining surfaces with professional methods, and verify that conditions have improved.
Certification matters because mold work has real health and property implications. If containment is weak, spores can spread into clean rooms. If wet materials are left behind, growth can return. If underlying leaks are ignored, the same problem can reappear in weeks. Properly trained remediation teams understand how to manage these risks with HEPA filtration, negative air pressure, moisture mapping, and post-remediation validation.
For larger residential losses, rental properties, and commercial spaces, process discipline becomes even more important. Occupants may still be in the building, insurance documentation may be needed, and the remediation plan may need to account for business interruption, tenant safety, or regulatory expectations.
Step 1: Inspection and moisture source identification
Every effective remediation project starts with a careful inspection. The first goal is to confirm where mold is growing and how far it may have spread. The second goal is to determine why it developed in the first place.
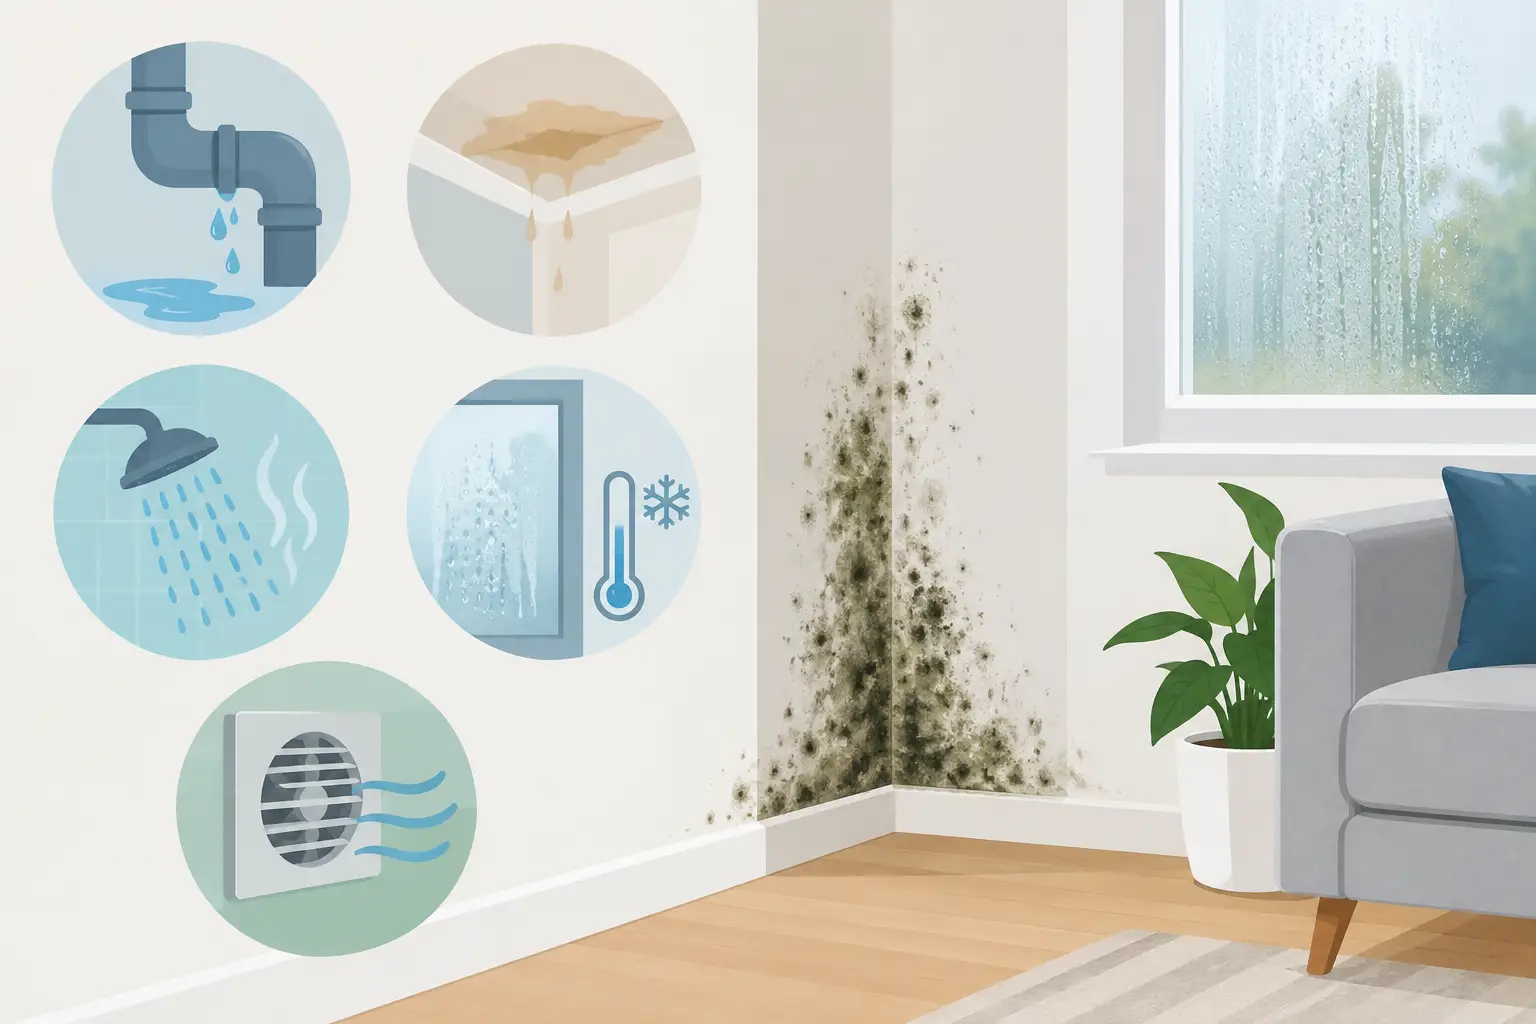
This step often includes a visual assessment, moisture meter readings, thermal imaging, and a review of the building history. A roof leak, plumbing failure, foundation seepage, bathroom humidity issue, or past flood event can all lead to hidden contamination. In many properties, visible mold is only one part of the problem.
This is also the stage where remediation professionals determine whether materials can be cleaned or need to be removed. Non-porous and semi-porous materials may be salvageable depending on the severity of contamination. Drywall, insulation, ceiling tile, carpet underpad, and other porous materials are more likely to require disposal when mold growth is established.
Air or surface sampling may be recommended in some cases, but not every project requires the same level of testing. It depends on occupant health concerns, the complexity of the property, the size of the affected area, and whether third-party documentation is needed.
Step 2: Containment to stop mold from spreading
Containment is one of the most important parts of the certified mold remediation process, and it is often the part property owners underestimate. Once contaminated materials are disturbed, mold spores can become airborne and travel to adjacent rooms.
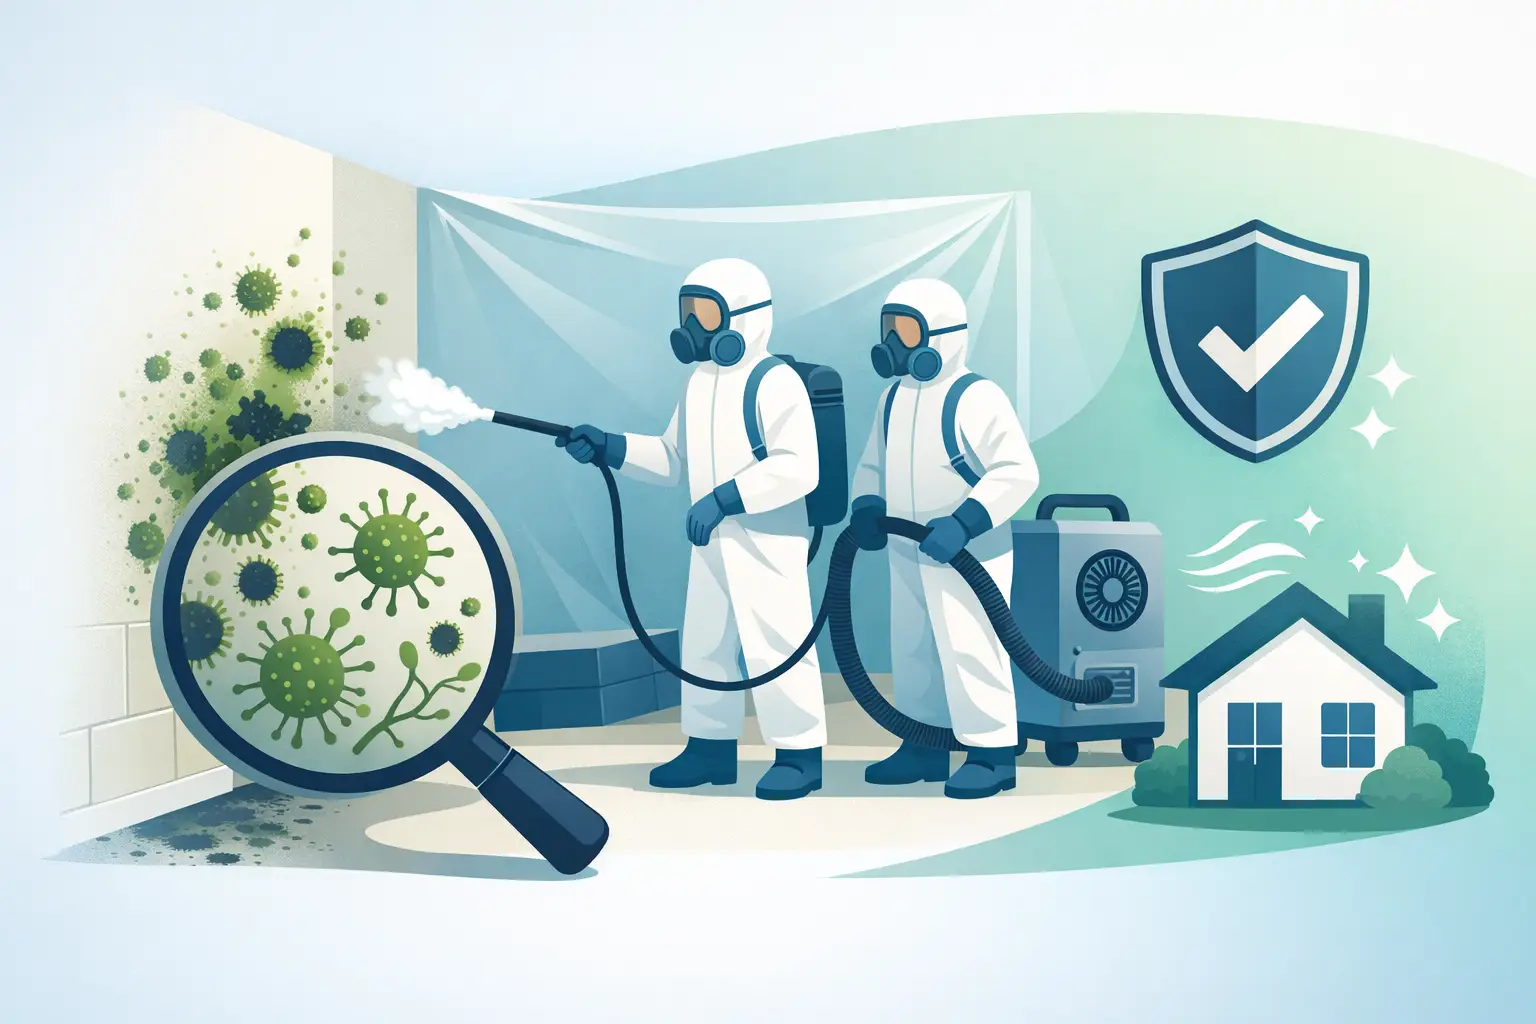
To prevent that, professional crews isolate the work zone with physical barriers and maintain negative air pressure using specialized equipment. HEPA-filtered air scrubbers help capture airborne particles during the project. In tighter spaces, such as crawlspaces, attics, or mechanical rooms, the containment plan may need to be adapted to match access limitations and airflow conditions.
This is where certified work differs sharply from general cleaning. Without proper isolation, a small mold problem in one room can become a larger indoor air quality issue across the property.
Step 3: Safe removal of contaminated materials
Once the area is contained, technicians remove unsalvageable materials under controlled conditions. This may include drywall cuts beyond the visibly affected section, insulation removal, disposal of damaged contents, and extraction of mold-contaminated debris in sealed bags.
The exact scope depends on how deeply the mold has penetrated. A light surface issue caused by short-term condensation is very different from mold growth following a long-term leak behind a wall. The right approach is based on condition, not assumptions.
In some cases, demolition is limited and targeted. In others, especially after prolonged water damage, more extensive removal is needed to expose structural framing and fully address hidden contamination. That can feel disruptive, but partial removal often creates a false sense of completion. If contaminated material remains behind, the property owner may face recurring odor, persistent moisture, and failed clearance testing later.
Step 4: Cleaning, HEPA filtration, and detailed treatment
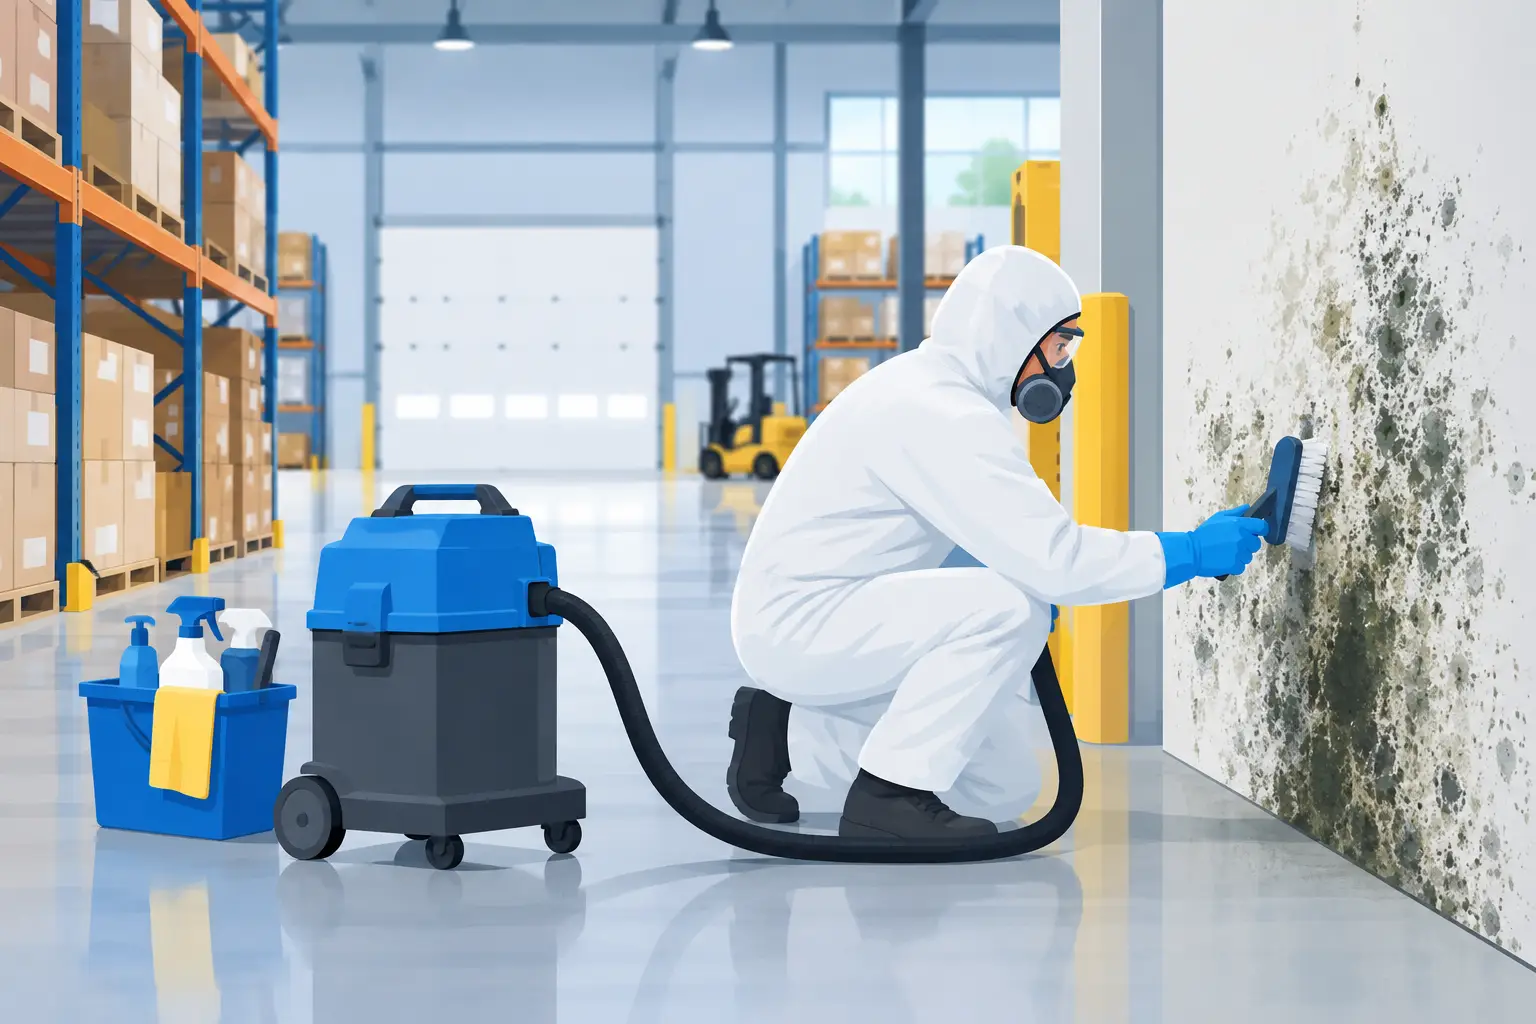
After damaged materials are removed, the remaining area is cleaned in stages. This typically includes HEPA vacuuming, damp wiping or detailed surface cleaning, and treatment of exposed structural elements when appropriate. The goal is to remove settled spores and contamination residue from the contained work area.
The best cleaning method depends on the material and the condition of the space. Wood framing, concrete, metal, and other structural surfaces each respond differently. Aggressive cleaning is not always better. If the wrong method damages a material or drives contamination deeper, it can complicate repairs.
Professional drying is also part of this stage. If moisture remains in framing, subfloors, or wall cavities, remediation is incomplete. Drying equipment and follow-up moisture readings help confirm that the environment is moving back toward stable conditions.
Step 5: Addressing the root cause before rebuild
No certified mold remediation process is complete until the moisture source is corrected. This is the dividing line between real remediation and cosmetic cleanup.
If the original cause was a plumbing leak, poor ventilation, a building envelope issue, or chronic basement seepage, that condition must be repaired or controlled before reconstruction. Otherwise, even excellent cleanup can be undone by repeated moisture exposure.
This is also the point where property owners should ask practical questions. Is the bathroom fan properly vented? Is the grading around the foundation sending water toward the building? Is a commercial unit producing excess humidity? Are tenants drying clothes indoors without ventilation? Long-term results depend on how honestly those issues are addressed.
Step 6: Post-remediation verification and clearance
Once removal, cleaning, and drying are complete, the final stage is verification. In many projects, that means a visual inspection combined with moisture confirmation. In more sensitive or higher-liability situations, post-remediation air quality testing may be used to support clearance.
Clearance is important because remediation should be measured by outcome, not effort. A room may look clean and still contain elevated airborne particles if containment failed or if cleaning was incomplete. Verification helps confirm that the area is ready for rebuild or re-occupancy.
For landlords and commercial property managers, this step can also support documentation for tenants, maintenance records, and risk management. For homeowners, it provides reassurance that the space has been properly addressed rather than simply covered up.
Why certification changes the outcome
Anyone can buy bleach or a hardware-store spray. That does not make them qualified to remediate mold safely. Certified professionals follow procedures designed to protect both the property and the people inside it.
That includes using proper personal protective equipment, understanding when demolition is required, managing contaminated waste, measuring moisture accurately, and maintaining engineering controls such as negative air pressure. It also includes knowing when a project needs broader indoor air quality consideration, especially in properties with children, seniors, immunocompromised occupants, or ongoing respiratory complaints.
For Toronto and GTA property owners facing active mold growth, the difference between uncertified cleanup and proper remediation often shows up later. Odor returns. Staining reappears. Tenants complain again. Hidden moisture remains. A professionally managed process costs more upfront than a quick wipe-down, but it usually prevents the much higher cost of repeating the work.
When fast action matters most
Not every mold issue is an emergency, but some situations should be addressed without delay. Recent flooding, sewage-related moisture, visible growth in HVAC-adjacent areas, large basement contamination, and mold in schools, offices, or multi-unit properties can escalate quickly.
The same is true when occupants report worsening symptoms or when a property sale, lease issue, or insurance claim is involved. In those cases, speed matters, but so does accuracy. Rushed work without proper containment can create new problems. The right team moves quickly without skipping control measures.
A company like Mold Removal Remediation approaches this work the way it should be handled: inspect thoroughly, identify the moisture source, contain the hazard, remove contamination safely, and verify results with professional testing when needed.
If you are dealing with a musty odor, water-damaged materials, or visible mold, the smartest next step is not guessing how far it spread. It is getting a clear, certified assessment so the problem is handled once, safely and completely.