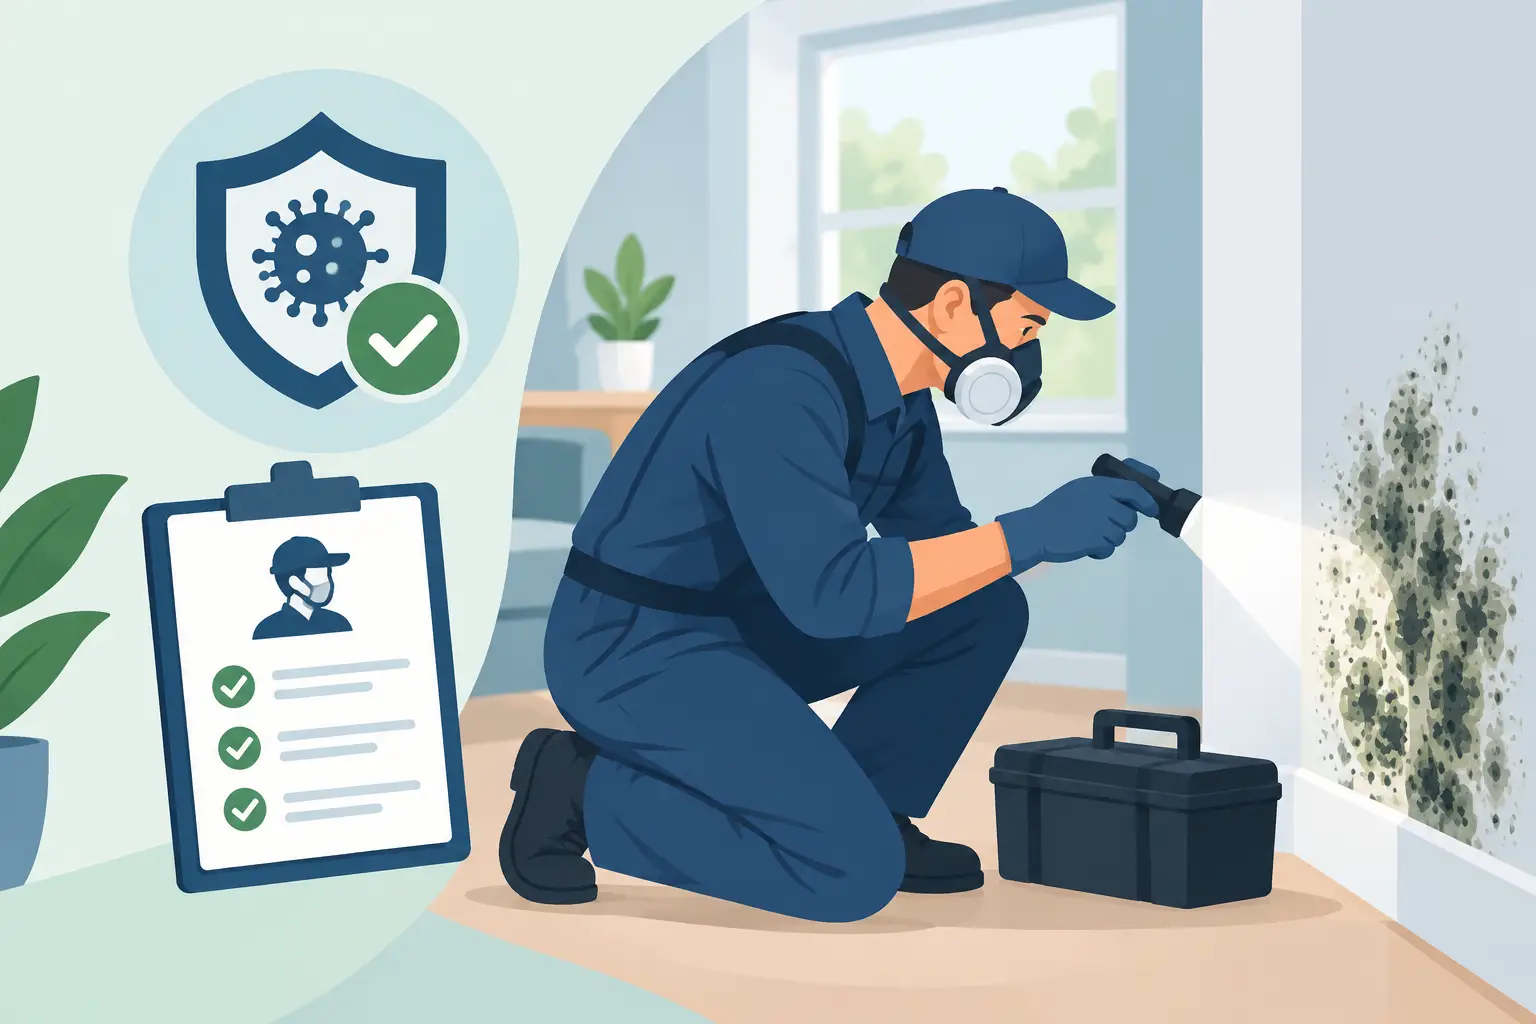



A faint musty smell after a Toronto rainstorm, a damp patch behind a finished basement wall, or recurring discoloration around a bathroom vent can point to a much larger moisture issue. This mold inspection checklist Toronto property owners can use helps separate a surface-level concern from signs that hidden contamination may be affecting the building. It is not a substitute for professional assessment, but it can help you document what you see and act before damage spreads.
Why Mold Inspections Matter in Toronto Properties
Toronto homes and commercial buildings face moisture from many directions. Spring thaw, heavy rain, aging foundation drainage, roof leaks, condensation on cold surfaces, plumbing failures, and humid bathrooms can all create the conditions mold needs to grow. In condos and multi-unit properties, the source may even be in a neighboring unit, a shared mechanical room, or a concealed pipe chase.
Visible mold is only one clue. Growth can develop behind drywall, beneath flooring, inside ceiling cavities, around window frames, or under sinks long before it becomes obvious. A proper inspection focuses on the cause of moisture, the full extent of affected materials, and whether conditions are likely to continue after cleaning.
For landlords, property managers, and business owners, a timely inspection also supports faster maintenance decisions and clearer documentation. For homeowners, it can protect indoor air quality and prevent a small repair from becoming a major remediation project.
Mold Inspection Checklist Toronto Homes and Businesses Can Follow
Start the inspection only if the area is safe to enter. Do not disturb extensive visible growth, wet drywall, damaged ceiling materials, or suspected asbestos-containing materials in older buildings. If there has been a sewage backup, significant flooding, or a large contaminated area, professional help should come first.
Check for moisture at the building exterior
The moisture source is often outside the room where mold appears. Walk around the property after rainfall when possible and look for water collecting near the foundation, disconnected downspouts, blocked eavestroughs, damaged flashing, cracked exterior sealant, or grading that slopes toward the building.
Pay attention to windows, doors, balconies, and roof penetrations. Staining on interior walls near these locations can indicate water intrusion rather than indoor humidity alone. In basements, look for white mineral deposits, peeling paint, damp odors, or darkened areas along foundation walls. These are common signs of chronic moisture movement through masonry or concrete.
Inspect rooms with plumbing and high humidity
Bathrooms, kitchens, laundry rooms, utility rooms, and basements deserve close attention. Check beneath sinks, behind toilets, around tubs and shower enclosures, near dishwasher connections, and around washing machine hoses. Even a slow leak can keep cabinet materials and wall cavities damp enough for mold growth.
In bathrooms, inspect grout, caulking, ceiling corners, exhaust fan covers, and the wall around the shower. Surface spotting may be related to poor ventilation, but repeated staining, soft drywall, bubbling paint, or a persistent odor can indicate moisture behind the finished surface.
Make sure exhaust fans actually move air outside. A fan that is noisy but weak, vents into an attic, or is never used during and after showers can contribute to ongoing condensation. The same applies to kitchen range hoods and laundry dryer vents.
Look beyond visible discoloration
Mold can appear black, green, gray, brown, white, or orange, but color alone does not identify the type or severity. Do not rely on appearance to decide whether an area is safe. Instead, look for patterns that suggest active moisture:
- Musty, earthy, or damp odors that remain after cleaning
- Peeling paint, warped trim, stained ceilings, or bubbling drywall
- Soft, swollen, or crumbling drywall and baseboards
- Condensation on windows, pipes, or exterior-facing walls
- Damp carpet, lifting flooring, or discoloration beneath rugs
- Repeated mold return after household cleaning
Take dated photos and note the exact location, odor, recent leaks, and any changes after rain or HVAC use. This information gives an inspector a useful starting point and helps property managers track recurring issues.
Check hidden and overlooked locations
Move only lightweight belongings and avoid opening walls or ceilings yourself. Inspect the back of furniture placed against exterior walls, closet corners, window coverings, storage areas, and the underside of basement stairs. Crowded storage areas can trap humid air and hide leaks for months.
In attics, look for water staining, damp insulation, frost, roof-deck discoloration, and signs that bathroom fans are exhausting into the space. In mechanical rooms, inspect around furnaces, air handlers, condensate lines, humidifiers, floor drains, and water heaters. HVAC systems can distribute odors and particulates when moisture or contamination is present near air pathways.
Consider occupant symptoms carefully
Some people report irritation of the eyes, nose, throat, or respiratory symptoms in damp or mold-affected spaces. These symptoms can have many causes, so a checklist cannot diagnose a health condition. However, if symptoms consistently improve away from the building or multiple occupants raise similar concerns, treat the situation seriously and arrange a professional indoor environmental assessment.
When a Visual Check Is Not Enough
A visual walkthrough is limited. It cannot confirm moisture inside a wall, determine whether a ceiling stain is still wet, or establish whether an affected area extends beyond what can be seen. This is where professional diagnostic equipment matters.
Certified inspectors may use moisture meters to assess building materials, thermal imaging to identify temperature patterns associated with hidden moisture, and humidity measurements to evaluate indoor conditions. Where appropriate, air or surface sampling can support the assessment, particularly when contamination is suspected but not visible. Sampling is useful only when interpreted alongside a full building inspection. A lab result without a moisture investigation does not solve the underlying problem.
Call for a professional inspection promptly if you find widespread growth, recurring mold, a strong musty odor with no clear source, water damage after a leak or flood, tenant complaints, or visible growth larger than a small isolated patch. The same applies when mold may be concealed behind walls, under flooring, or above ceilings.
What a Professional Mold Inspection Should Include
A thorough inspection should begin with questions about the property history: leaks, floods, renovations, ventilation problems, prior mold cleanup, and when odors or staining first appeared. The inspector should then examine affected and adjacent areas, not just the most visible spot.
The next step is identifying the moisture source. This may involve checking plumbing, exterior drainage, roof conditions, ventilation, humidity levels, and HVAC components. Without correcting the source, mold can return even after an affected surface has been cleaned.
If remediation is necessary, the scope should explain what materials need removal, how the work area will be contained, and how dust and airborne particles will be controlled. Professional remediation commonly uses containment barriers, negative air pressure, HEPA filtration, and careful removal of unsalvageable porous materials. After work is completed, clearance or post-remediation verification may be recommended to confirm that the area has been properly cleaned and dried.
Mold Removal Remediation provides end-to-end inspection and remediation services across Toronto and the GTA, using certified methods and professional moisture-detection equipment to identify hidden conditions before they spread.
DIY Cleaning Versus Certified Remediation
A small amount of surface mold on a non-porous material may sometimes be cleaned after the moisture cause has been corrected. The trade-off is that cleaning only what is visible can miss damp drywall, insulation, subflooring, or framing behind it. Porous materials that have been significantly wet or mold-affected often require more than surface treatment.
Avoid dry scraping, sanding, or using fans to blow across mold-damaged materials. These actions can spread dust and contaminants into other rooms. Bleach is also not a complete solution for porous building materials, because it does not correct the moisture problem or reliably address growth below the surface.
For rental, commercial, and multi-unit properties, professional assessment is especially valuable because the cause and impact may cross unit boundaries. Documentation, containment, and a defined remediation scope help protect occupants and reduce the chance of repeated disputes or repairs.
Take the Next Safe Step
If your checklist reveals moisture, odors, repeated staining, or visible mold, do not wait for the problem to become easier to see. Keep the area dry, avoid disturbing damaged materials, document the signs, and arrange a certified inspection that looks for the source as well as the contamination. The most effective mold solution begins with finding where the water is coming from and making sure it stays gone.