

A musty odor behind a finished basement wall, recurring condensation near windows, or a stain that returns after cleaning can point to a problem that a quick visual check will miss. The best mold testing methods do more than confirm that mold spores exist indoors. They help identify where moisture is feeding growth, how far contamination may have spread, and whether cleanup has addressed the actual source.
For homeowners, landlords, property managers, and business owners, the right approach depends on the building, the history of water damage, and the reason for testing. A bathroom with visible surface growth needs a different assessment than a commercial suite with employee odor complaints or a home with suspected mold inside a ceiling cavity. Reliable results start with a trained inspection, not a one-size-fits-all test kit.
Why Mold Testing Is Not Just About the Lab Report
Mold spores are naturally present in outdoor and indoor air. A lab report that identifies a common mold type does not automatically prove a property has a serious contamination issue. Likewise, a low air sample does not guarantee that mold is absent behind a wall, under flooring, or inside a poorly accessible HVAC area.
The most useful testing combines building science with sampling. An experienced inspector looks for water entry, elevated moisture, material damage, ventilation problems, and conditions that allow mold to grow. Samples are then selected to answer a specific question, such as whether an area is affected, whether dust or debris contains mold, or whether a remediated space has returned to normal conditions.
This distinction matters because mold remediation should address the moisture source and contaminated materials, not simply produce a cleaner-looking test result.
Best Mold Testing Methods for a Thorough Inspection
Visual inspection and moisture mapping
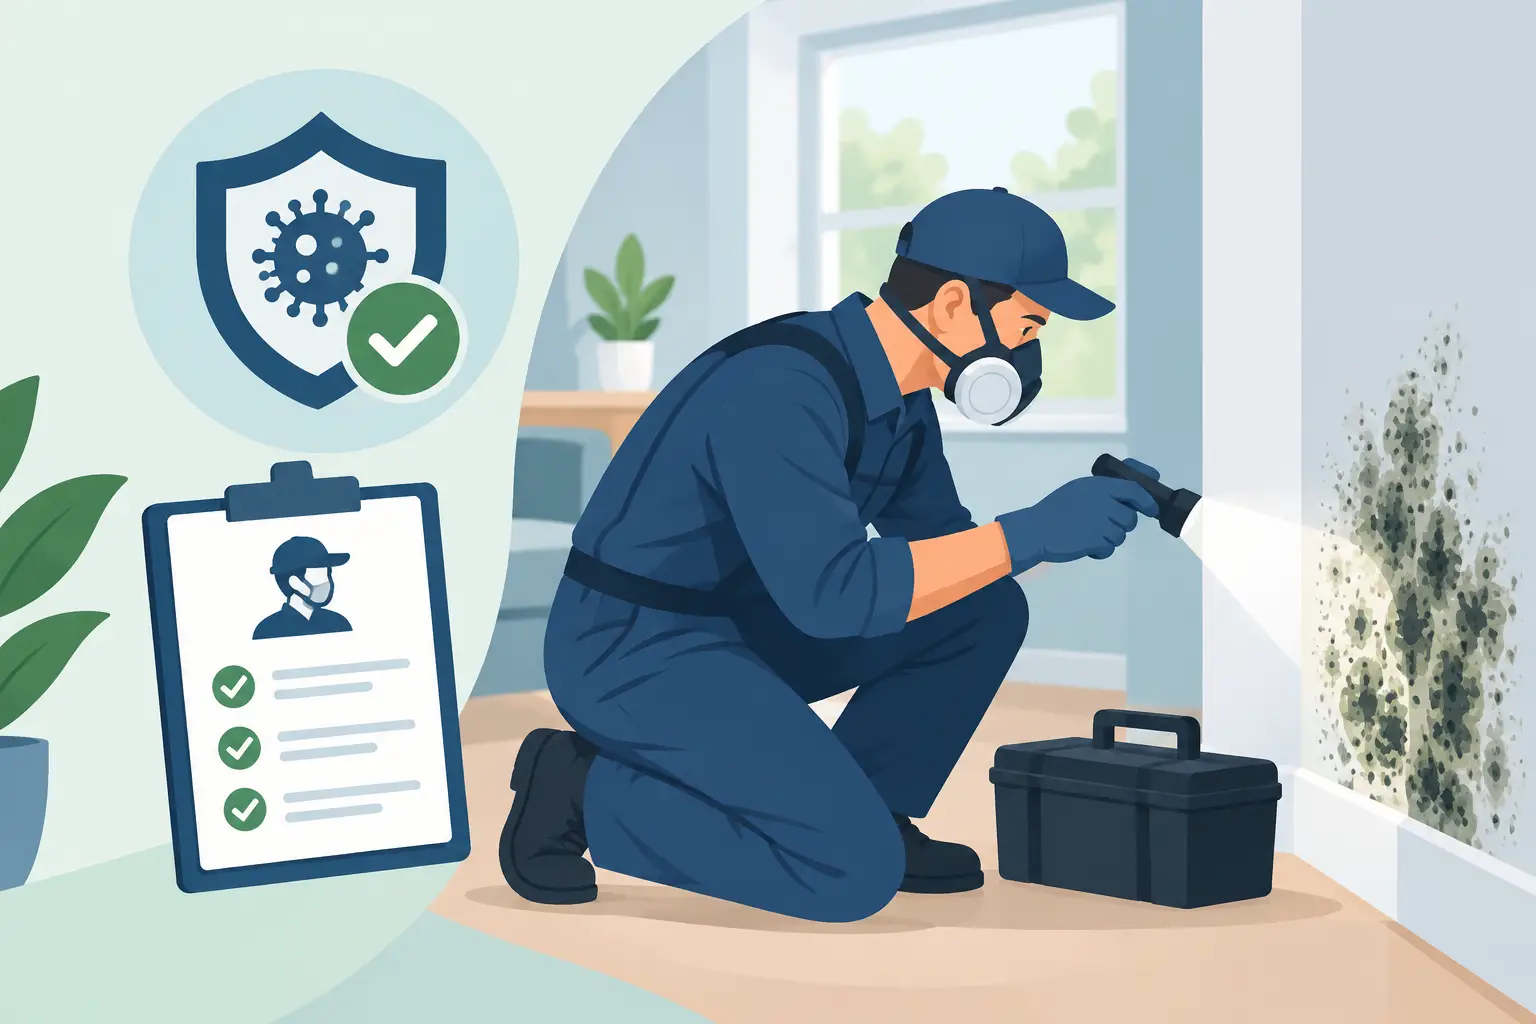
A detailed visual inspection is the starting point for nearly every mold investigation. The inspector examines walls, ceilings, windows, plumbing areas, attics, crawl spaces, basements, mechanical rooms, and other moisture-prone locations. They look for staining, peeling paint, warped finishes, microbial growth, water marks, and odors that may signal hidden damage.
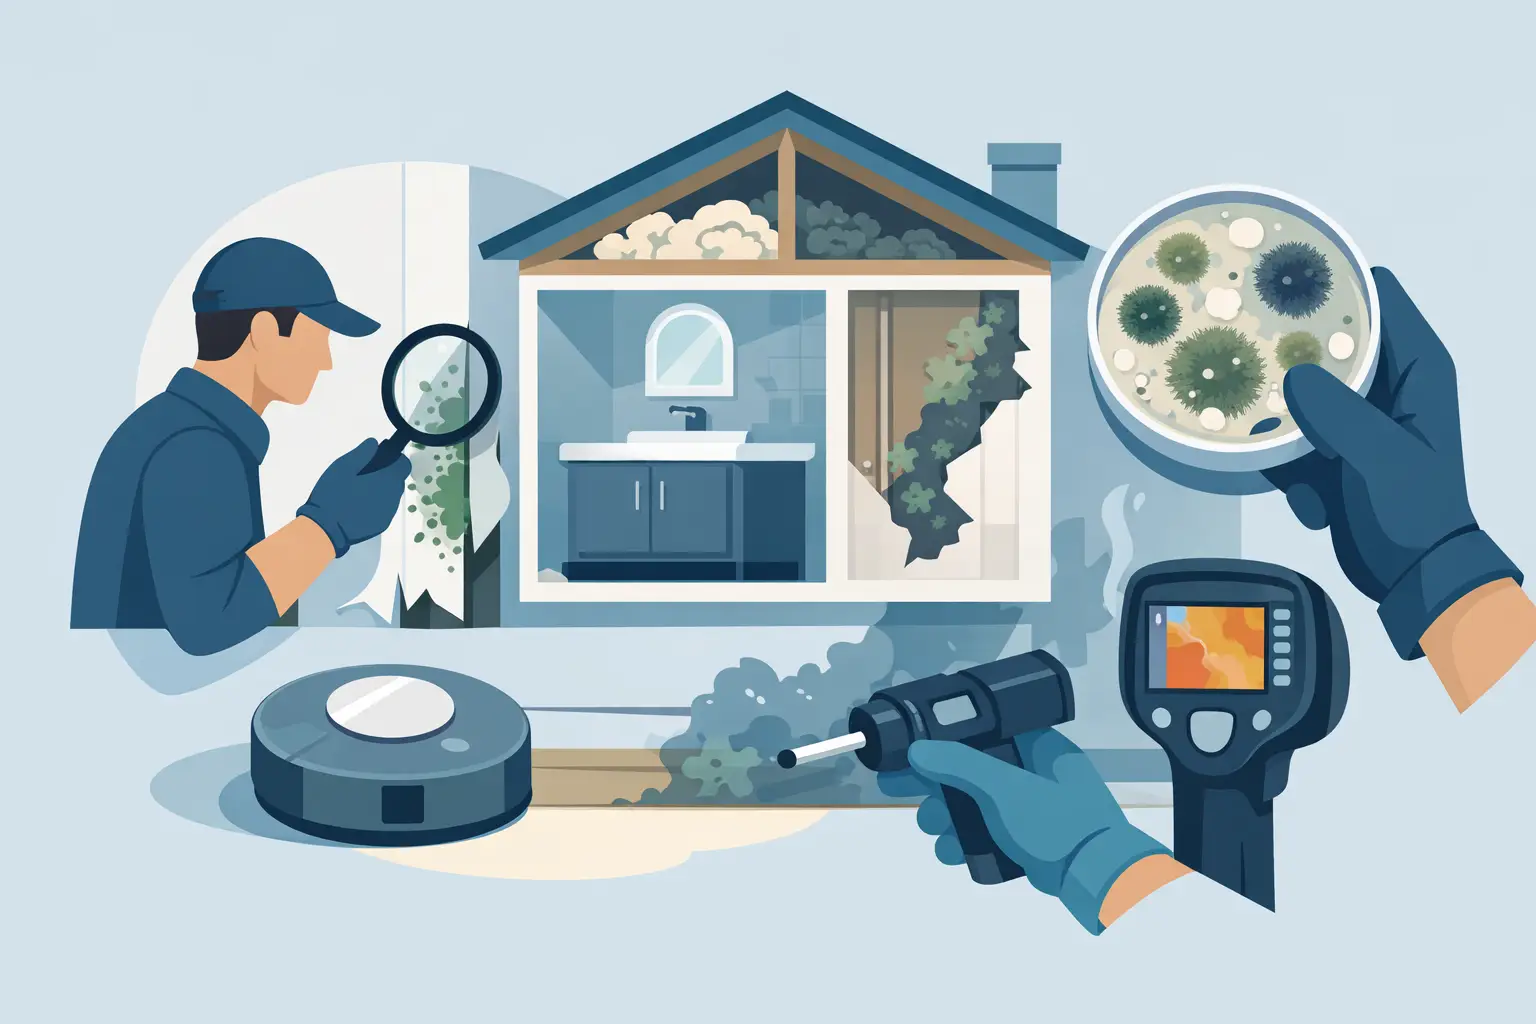
Visual inspection becomes far more effective when paired with professional moisture meters and thermal imaging. A moisture meter can compare suspect materials with dry reference areas to identify elevated readings in drywall, wood, trim, and flooring. Thermal imaging may reveal cooler patterns associated with moisture, missing insulation, or air leakage. It does not see mold directly, and a cold spot is not proof of a leak, but it helps target areas that require closer investigation.
This is often the best first method after a leak, flood, roof issue, plumbing failure, or persistent condensation. It identifies the conditions mold needs to grow and helps prevent unnecessary demolition.
Surface sampling
Surface sampling tests a specific visible spot or suspected material. Common options include tape lifts, swabs, and bulk samples. A tape lift can collect material from a wall, baseboard, window frame, or other surface for microscopic analysis. A swab may be used on a smooth surface where the goal is to identify what is present. A bulk sample involves removing a small portion of affected material, such as drywall, carpet backing, insulation, or ceiling tile.
Surface tests work best when there is visible growth or staining and the inspector needs to distinguish mold from dirt, mineral deposits, soot, or another substance. They can also help determine whether contamination has reached a specific building material.
There are limits. A clean swab from one small location cannot clear an entire room, and a surface sample alone cannot measure airborne conditions. It should be part of the inspection plan, not a substitute for it.
Air sampling
Air sampling draws a measured volume of air through a collection device so the sample can be analyzed for airborne mold spores. It is commonly used when occupants report a persistent musty odor, when hidden contamination is suspected, or when a professional needs to compare an affected area with an outdoor control sample.
Proper air sampling requires careful timing and placement. Windows, doors, fans, HVAC operation, recent cleaning, occupancy, and weather can all influence results. Samples should be collected using calibrated equipment and interpreted alongside the building inspection. Comparing indoor air with an appropriate outdoor sample can reveal unusual concentrations or a mold profile that does not match typical outdoor conditions.
Air tests are valuable, but they are snapshots. Mold spores may not be released continuously, especially when growth is sealed inside a wall or ceiling. For that reason, air sampling is not the best standalone method for finding every hidden issue. It is strongest when combined with moisture mapping and a focused inspection.
Cavity investigation and targeted sampling
When moisture readings, thermal patterns, odors, or water history point to a concealed area, a limited cavity investigation may be necessary. This can involve inspecting through an existing opening, removing a small section of drywall, or using a borescope to look inside a wall or ceiling void.
This method is more invasive than a surface or air sample, but it can provide direct evidence of concealed damage. It is particularly useful after long-term plumbing leaks, roof leaks, appliance overflows, or flooding where water may have traveled behind finishes. A qualified professional should control dust and protect unaffected areas during any opening, especially if damage appears extensive.
Dust sampling and specialized testing
Dust sampling can sometimes provide additional information about long-term mold accumulation in a building. It is not usually the first choice for a straightforward water-damage event, and its value depends heavily on the sampling method and the question being asked. Dust-based tests should be interpreted cautiously because housekeeping practices, pets, foot traffic, and outdoor conditions can affect results.
Specialized testing may also be considered in complex commercial properties, repeated tenant complaints, insurance-related investigations, or cases involving unusual materials and widespread contamination. In these situations, the inspection scope should be designed around the property’s history and the decisions that the results need to support.
When DIY Mold Kits Can Create More Confusion
Store-bought mold kits may seem like a quick answer, especially when a room smells damp or a stain appears near a vent. Most settle plates and simple swab kits, however, have limited diagnostic value. Mold can grow on an exposed plate in many normal environments, and the result rarely identifies the source of moisture or tells you what work is required.
DIY kits can also produce alarming results without context. Finding mold spores does not establish that a building has hidden growth, that the spores came from a particular room, or that remediation is necessary. A false sense of security is equally possible when a kit does not capture a problem that is hidden or inactive at the time of testing.
If visible mold covers a small, nonporous surface and the moisture issue is clearly resolved, testing may not be needed at all. But recurring growth, water-damaged drywall, widespread staining, tenant complaints, or unexplained odors warrant a professional assessment rather than repeated home tests.
Choosing the Right Test for Your Situation
The best test is the one that answers a useful property question. After a recent leak, moisture readings and targeted visual inspection may be the priority. When visible growth is present, a surface or bulk sample can help identify what has affected the material. If there is no visible mold but odor or symptoms are linked to a certain area, air sampling and a concealed-space investigation may be appropriate.
For a landlord or property manager, documentation may be especially important. A clear inspection record can show the moisture source, affected materials, sampling locations, recommended controls, and the scope of cleanup. For business owners, the process may also need to account for occupied areas, sensitive operations, and containment requirements that minimize disruption.
No responsible professional should promise that one sample can certify an entire building as mold-free. A sound assessment explains what was inspected, what could not be accessed, how samples were collected, and what the findings mean in context.
Testing Before and After Mold Remediation
Testing can serve two different purposes: defining the problem before work begins and verifying conditions after work is completed. Pre-remediation testing may help establish the extent of contamination and identify areas that need containment or material removal. It can also support a more accurate remediation plan instead of treating only the visible surface.
After remediation, post-remediation verification checks whether the affected area has been properly cleaned, dried, and returned to acceptable conditions. This process typically includes a visual review, moisture confirmation, and, when appropriate, air or surface sampling. The area should be free of visible debris and dust, dry, and free of mold-related odors before containment is removed.
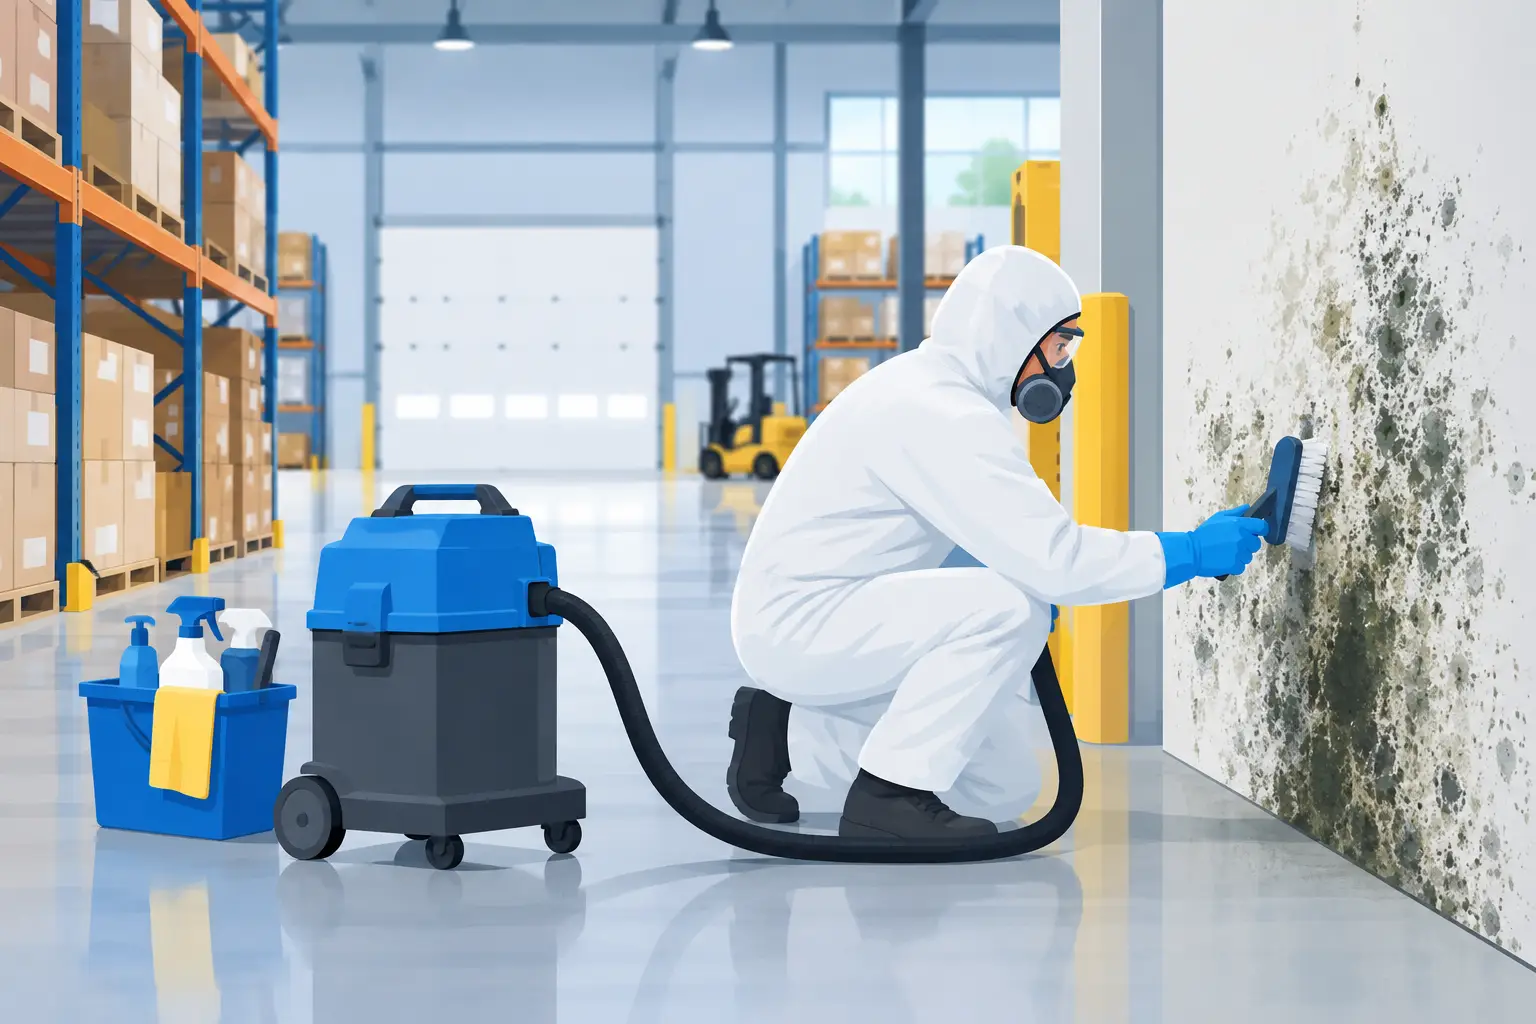
A proper remediation team uses controls such as containment barriers, HEPA air filtration, negative air pressure, and careful cleaning to prevent cross-contamination. Testing is most meaningful when those controls are part of a complete process that includes correcting the original moisture problem.
What to Expect From a Professional Mold Assessment
A professional assessment should begin with questions about leaks, floods, plumbing repairs, roof conditions, odors, condensation, and the areas where concerns occur. The inspector should examine the property methodically, use appropriate diagnostic tools, and explain why any samples are being taken.
You should receive plain-language findings, not just technical names from a laboratory report. The report should connect the evidence to practical next steps: repair the leak, improve ventilation, remove water-damaged materials, clean affected contents, or monitor a low-risk area. When remediation is necessary, the scope should be based on the actual extent of damage and include a plan for safe containment and final verification.
When mold concerns are unresolved, waiting often allows moisture damage to spread behind finishes and into adjacent materials. A focused inspection now can replace uncertainty with a clear plan to protect the people using the property and the building itself.