

A musty smell rising through the floors is often the first warning. By the time you can see dark spotting on crawlspace joists or insulation, moisture may have been feeding hidden growth for weeks or months. Knowing how to remove crawlspace mold means more than spraying a visible patch. The work must address the contamination, the affected materials, and the water source that allowed mold to grow in the first place.
For homeowners, landlords, and property managers, crawlspace mold deserves prompt attention. Spores can move into occupied areas through gaps around plumbing, ductwork, and floor penetrations. The longer moisture remains trapped below the building, the greater the risk of damage to framing, insulation, subfloors, and indoor air quality.
Why Crawlspace Mold Is Different
Crawlspaces are difficult environments: dark, enclosed, and often poorly ventilated. Ground moisture can evaporate upward, humid summer air can condense on cool surfaces, and small plumbing leaks can go unnoticed. A single issue may be manageable, but several moisture sources working together can create widespread contamination.
Mold on a solid wood joist does not always mean the wood needs replacement. Surface growth can often be professionally cleaned once the material is dry and structurally sound. Moldy fiberglass insulation, cardboard duct wrap, damaged vapor barriers, and decayed wood are different. Porous materials can hold spores and moisture deep within their fibers, making removal and replacement the safer option.
The appearance of mold also does not confirm its species or severity. Black, green, gray, and white growth can all occur in crawlspaces. Rather than trying to identify mold by color, focus on the extent of growth, the moisture conditions, the condition of building materials, and whether occupants are experiencing persistent odors or irritation.
How to Remove Crawlspace Mold Safely
The correct approach depends on how much area is affected and what materials are involved. A very small, isolated patch on a nonporous or solid surface may be manageable with careful cleaning. Widespread growth, recurring mold, sewage contamination, saturated insulation, or suspected structural damage should be handled by a certified remediation team.
Start with a moisture and contamination assessment
Do not begin by cleaning before determining why the area is wet. Inspect for plumbing leaks, foundation seepage, standing water, wet soil, condensation on ducts or pipes, disconnected downspouts, and exterior grading that directs water toward the foundation.
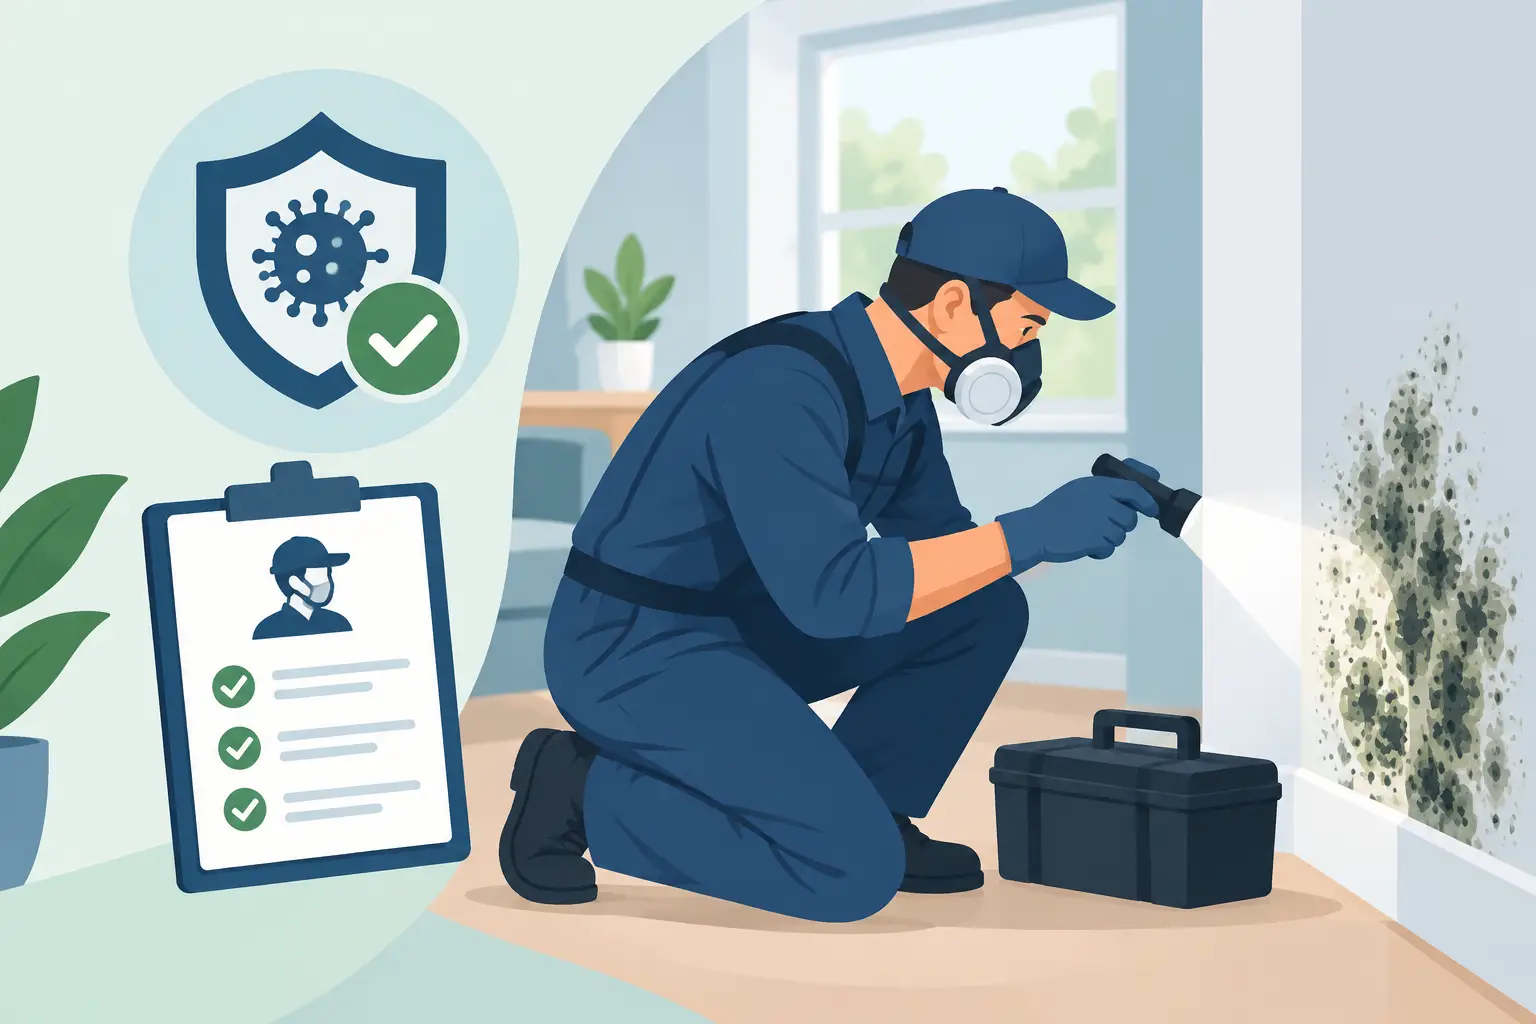
A professional assessment may include moisture meters to test wood and insulation, thermal imaging to identify concealed damp areas, and air quality testing when there is concern that spores are affecting indoor spaces. This step prevents a common and expensive mistake: cleaning visible mold while missing the active moisture problem behind it.
Decide whether professional remediation is needed
Professional help is strongly recommended when mold covers more than a small isolated area, returns after cleaning, or involves insulation, wood deterioration, sewage, or flooding. It is also the right choice when the crawlspace is tight, difficult to access, or connected to a home with vulnerable occupants, including people with asthma, severe allergies, or compromised immune systems.
Avoid disturbing extensive mold without containment. Brushing, scraping, or using a household fan can release particles into the crawlspace and adjacent living areas. In older properties, damaged pipe wrap, floor materials, or insulation may also require asbestos testing before removal begins.
Contain the work area before disturbing mold
A proper remediation project separates the affected crawlspace from clean areas. Professionals use plastic containment where appropriate, seal access points, and operate negative air pressure systems with HEPA filtration. These controls help prevent mold spores from traveling through the property during removal.
For limited do-it-yourself work, wear appropriate personal protective equipment: a properly fitted respirator rated for fine particles, gloves, eye protection, coveralls, and boots that can be cleaned. Keep children, pets, and unprotected occupants away from the work area. Never rely on a dust mask alone for a mold cleanup project.
Remove damaged porous materials
Wet or mold-contaminated insulation should generally be removed rather than sprayed or deodorized. The same applies to heavily contaminated paper-backed materials, rotted wood, and debris stored in the crawlspace. Bag materials before carrying them out so particles are not spread through the home or yard.
When structural wood is affected, evaluate its condition before deciding on replacement. Wood that is soft, crumbling, deeply stained, or weakened by long-term decay may require repair by a qualified contractor. Surface mold on sound framing can often be remediated through controlled cleaning and drying.
Clean solid surfaces with the right method
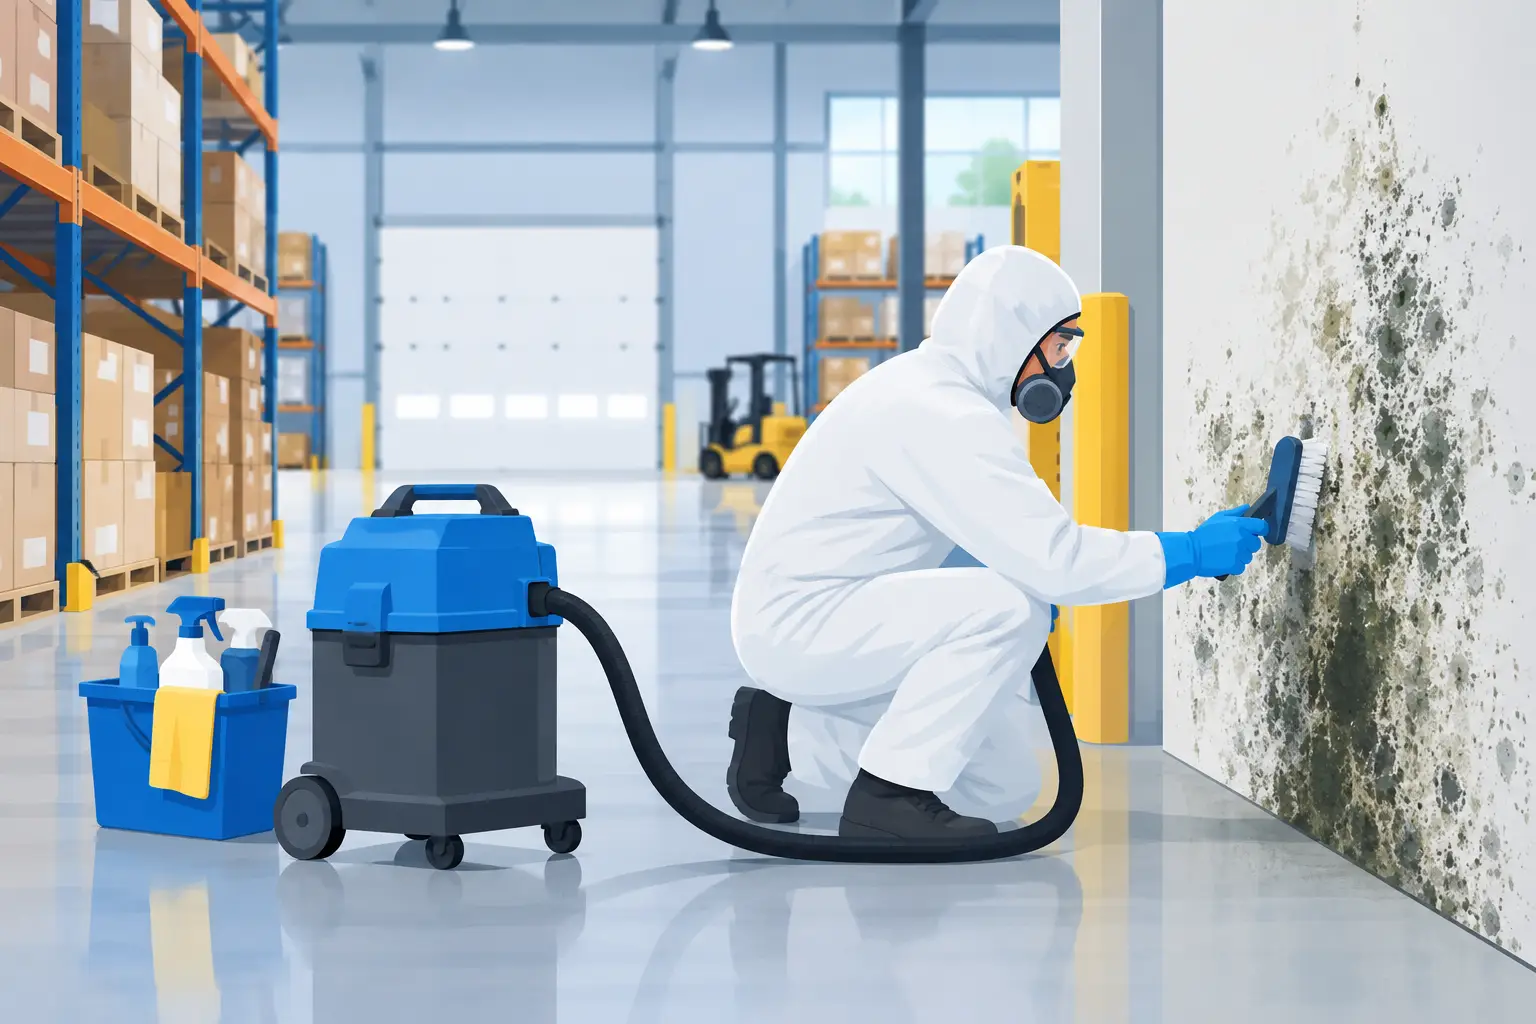
The goal is to remove contamination, not simply cover it up. HEPA vacuuming is commonly used to capture loose spores and debris from framing and other surfaces. Controlled damp wiping or professional cleaning methods can then remove remaining growth from sound materials.
Bleach is not a complete crawlspace mold solution. It may lighten stains on some surfaces, but it does not correct moisture, and it is not suitable for every material or confined-space condition. Mixing cleaning products can create hazardous fumes. If chemical treatment is used, it should be selected for the surface, applied according to its label, and supported by proper ventilation and containment.
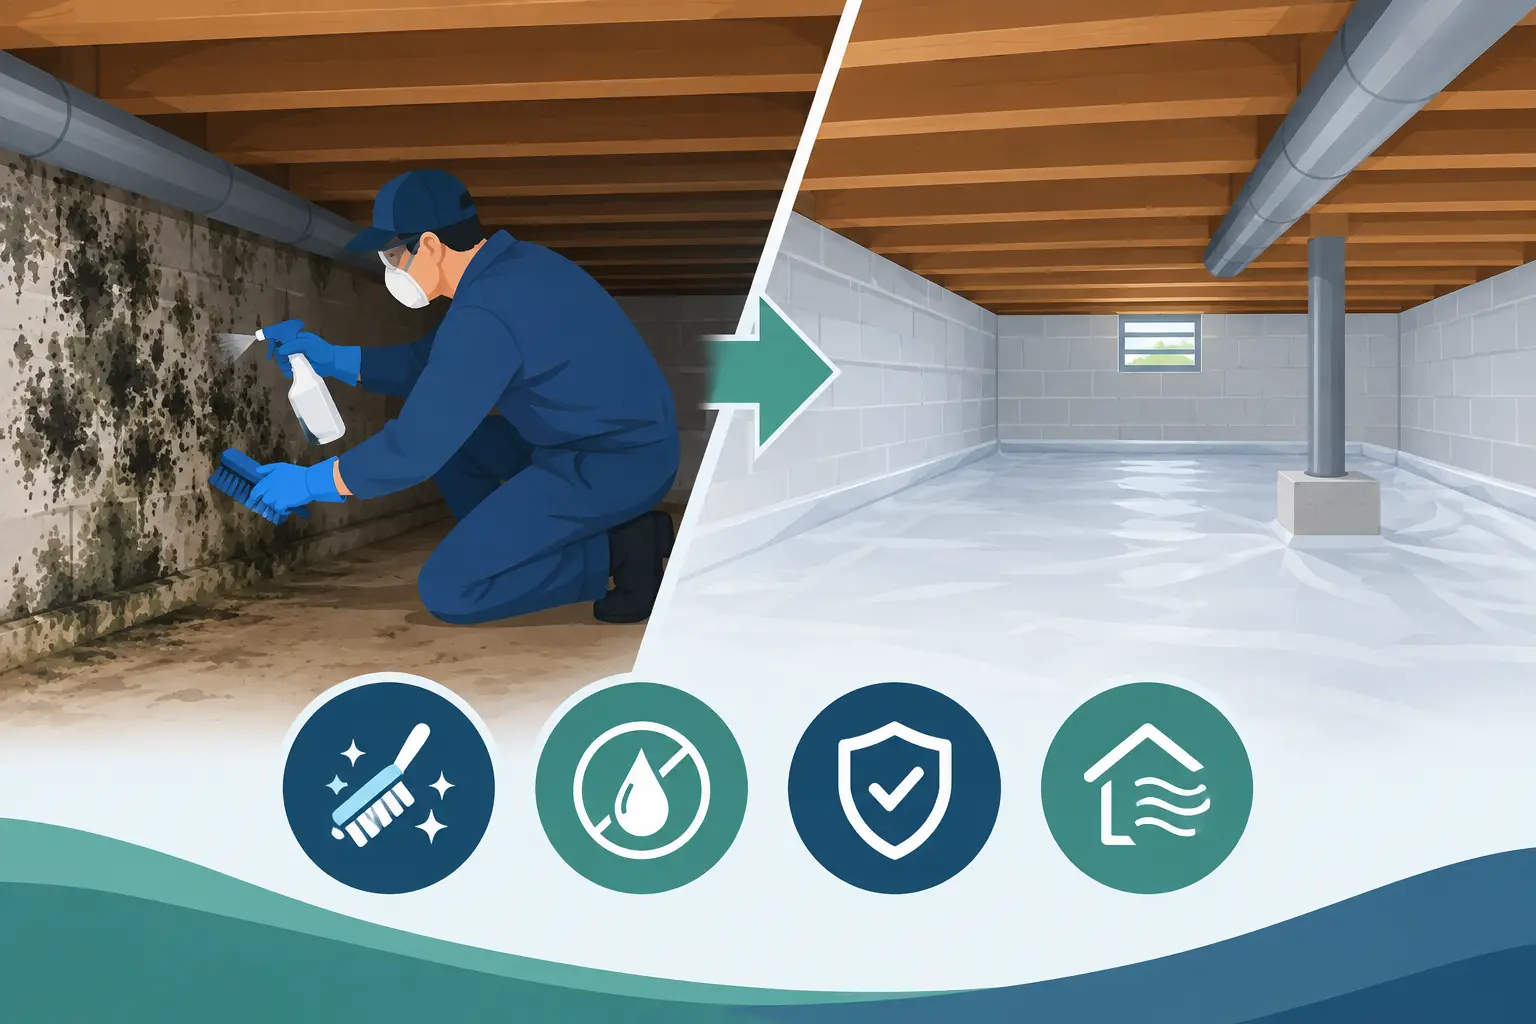
After cleaning, dry the crawlspace fully. Dehumidification, targeted ventilation, and moisture control are often needed before insulation or vapor barriers are installed. Covering damp materials can trap moisture and restart the problem.
Fix the Moisture Source Before Rebuilding
Mold removal only lasts when the crawlspace stays dry. The right solution depends on the building and the source of water. A plumbing repair may solve one property, while another needs exterior drainage improvements, a sump pump, foundation sealing, or a properly installed ground vapor barrier.
In many crawlspaces, a sealed vapor barrier across the soil is a major part of moisture control. It limits the amount of ground vapor entering the space. It should be overlapped, sealed, and extended carefully around piers and wall edges. Thin plastic laid loosely over wet soil offers limited long-term protection.
Humidity management matters as well. In humid climates, opening vents can sometimes bring in more moisture rather than less. A crawlspace dehumidifier or a conditioned, sealed crawlspace may be more effective, but the best approach depends on local climate, insulation details, and the building’s drainage performance. Do not close vents or encapsulate a crawlspace without evaluating how that change will affect moisture and ventilation.
Signs the Mold Problem May Be Hidden
Visible growth is not the only reason to investigate. Schedule an inspection when you notice several of these warning signs:
- A musty odor that is strongest near floors, vents, or the crawlspace access door
- Repeated condensation on pipes, ducts, or the underside of the subfloor
- Insulation that is sagging, damp, stained, or falling from joists
- Cupped floors, soft subfloor areas, or unexplained wood deterioration
- Mold returning after a previous cleaning or water event
These symptoms do not always mean mold is widespread, but they justify a closer look. Early inspection can reduce the scope of demolition and protect the condition of the property.
Verify That the Crawlspace Is Actually Clean
A crawlspace should not be considered remediated simply because the staining looks better. The area should be dry, free of visible debris and active growth, and repaired so the original water source is controlled. Where contamination was substantial or indoor air quality is a concern, post-remediation verification and air testing can provide added confidence that the cleanup was completed properly.
Certified remediation teams use moisture readings, HEPA filtration, negative air equipment, and detailed cleaning procedures to manage the work safely. At Mold Removal Remediation, the focus is on finding hidden moisture and contamination, removing affected materials under proper controls, and helping protect the property from recurrence.
If a crawlspace smells musty, feels damp, or shows even small areas of recurring growth, treat it as a moisture warning rather than a cosmetic problem. A thorough inspection now can preserve the structure below your feet and help keep the air above it healthier.