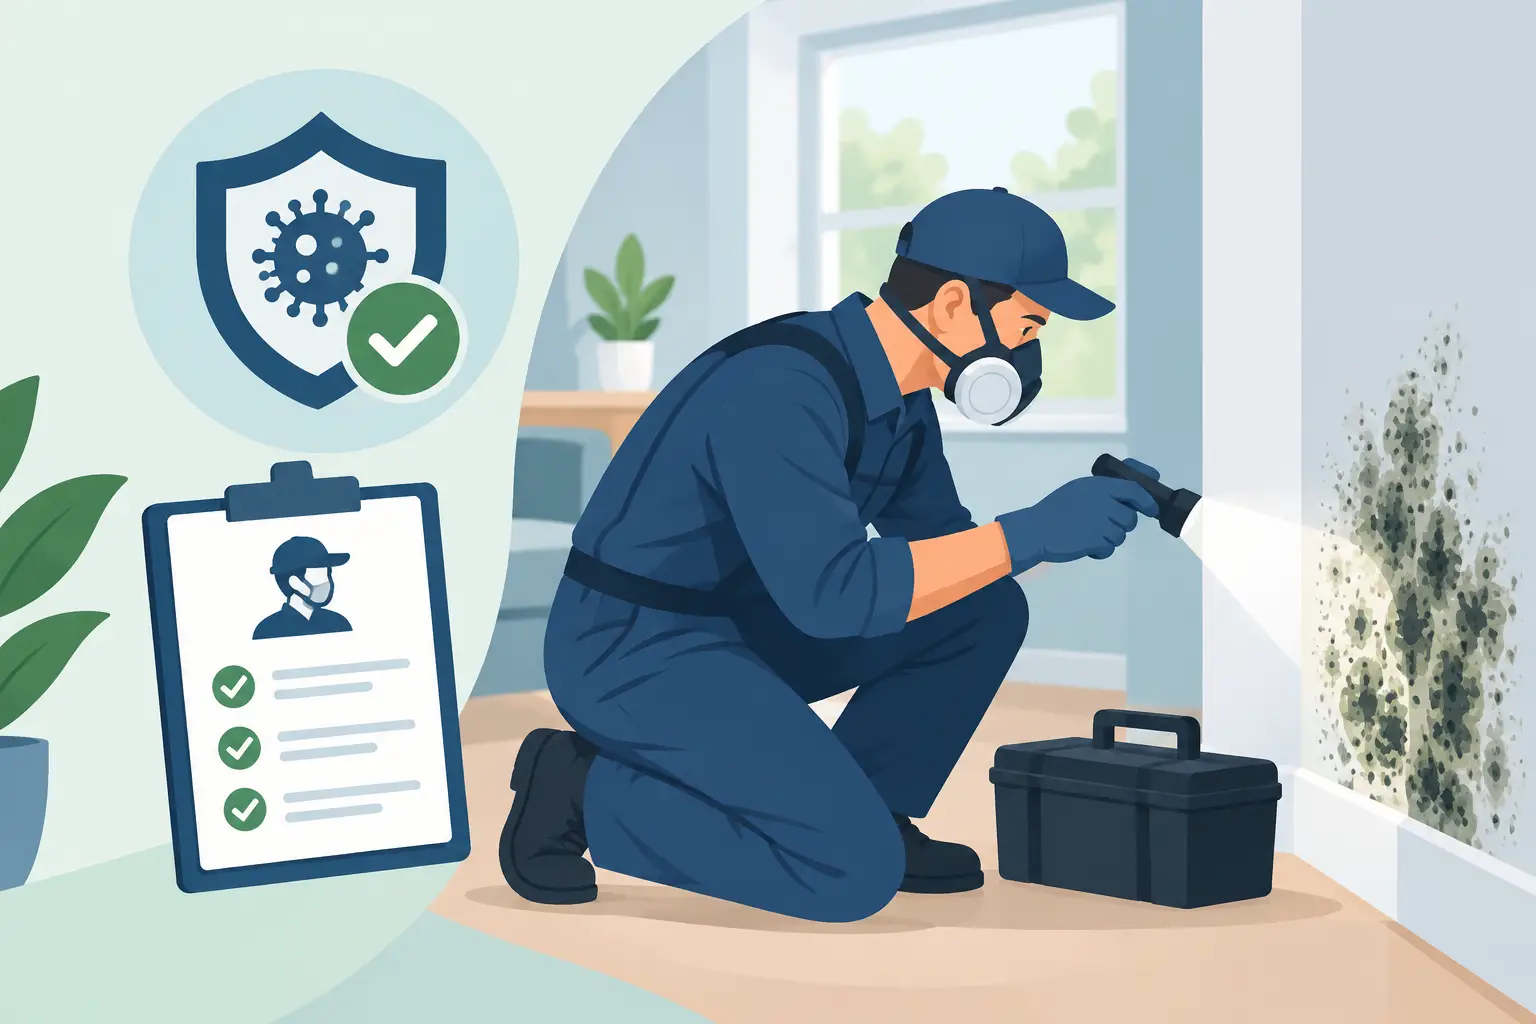



If you have a musty odor, recent water damage, or dark spotting on walls or ceilings, knowing how to prepare for mold inspection can make the visit more accurate and more efficient. A proper inspection is not just about spotting visible mold. It is about identifying moisture sources, checking hidden areas, and understanding whether the problem is isolated or spreading through the property.
Many property owners make the mistake of cleaning aggressively or sealing off the area before the inspector arrives. That can make it harder to trace the source and assess the true extent of contamination. A better approach is to keep the space accessible, document what you have noticed, and let a certified professional evaluate the conditions with the right equipment.
Why preparation matters before a mold inspection
A mold inspection is only as useful as the information and access available at the time of the visit. Mold often grows behind drywall, under flooring, inside attics, around window frames, and near plumbing lines. If the inspector cannot reach those areas or if recent cleaning has disturbed the evidence, the findings may be less complete.
Good preparation also helps speed up the process. Homeowners, landlords, and business owners are often under pressure when mold is suspected. Tenants may be complaining, employees may be affected by poor indoor air quality, or a real estate transaction may be at risk. Taking a few practical steps before the appointment helps the inspector move directly into diagnosis instead of spending time clearing access or piecing together a timeline.
How to prepare for mold inspection without disrupting evidence
The first rule is simple: do not try to fix the problem before the inspection. Avoid painting over stains, spraying strong chemicals, or tearing out building materials on your own. Even if the intention is good, these actions can hide growth patterns, interfere with moisture readings, and increase the chance of spreading spores.
If there is visible mold, leave it alone unless there is an immediate safety issue. Disturbing contaminated material can release particles into the air, especially in enclosed areas with poor ventilation. This matters even more in homes or buildings where occupants already have respiratory symptoms, allergies, or compromised immune systems.
You should also avoid using air fresheners, ozone devices, or heavy deodorizers right before the appointment. These products may temporarily mask odors that help point to hidden moisture problems. Musty smells are often a valuable clue, particularly when visible growth is limited.
Clear access to key areas
One of the most useful things you can do is make sure the inspector can reach the places where mold commonly develops. That does not mean emptying the entire building. It means removing obstacles around the most likely problem zones.
Focus on areas near water heaters, HVAC systems, under sinks, around washing machines, behind stored boxes in basements, inside utility rooms, around attic access points, and near any walls affected by leaks or flooding. If furniture is pushed tightly against a wall where staining or odor is present, pull it back if you can do so safely. If the issue is in a commercial space, make maintenance rooms, janitorial closets, ceiling access panels, and mechanical areas available.
Inspectors may use moisture meters, thermal imaging, and other professional tools to evaluate hidden dampness. Those tools work best when there is direct access to surfaces and surrounding materials. If a suspected area is blocked by storage, the inspector may not be able to get a reliable reading.
Gather the property history before the appointment
Mold problems rarely appear without a moisture story behind them. A roof leak from six months ago, a recurring plumbing issue, poor bathroom ventilation, past flooding, or condensation around windows can all help explain what the inspector finds.
Before the appointment, write down anything relevant you remember. Include when you first noticed the odor or staining, whether the issue changes after rain, whether repairs were attempted, and whether anyone in the building has reported coughing, headaches, congestion, or irritation that seems worse indoors. You do not need a perfect record. Even a rough timeline can help narrow down the source.
If you manage a rental or commercial property, gather maintenance logs, leak reports, restoration invoices, and any prior inspection reports. This is especially useful in larger buildings where the mold complaint may be one symptom of a wider moisture problem.
Leave HVAC conditions as normal as possible
If you are wondering how to prepare for mold inspection on the day of the visit, try to keep indoor conditions as normal as possible. Run the heating or cooling system as you usually would, unless you were given different instructions by the inspection company. Sudden changes can affect airflow, humidity, and indoor air readings.
Do not open every window to air out the space before the inspector arrives. Fresh outdoor air can dilute indoor conditions and make it harder to assess odor patterns or indoor air quality concerns. On the other hand, if there is active water intrusion or a serious safety concern, follow emergency guidance first and let the inspection company know what actions were necessary.
Air purifiers are a gray area. If you use one regularly for health reasons, mention it to the inspector. Turning it off briefly may be recommended in some cases, but that decision depends on the purpose of the visit and whether air sampling is part of the assessment.
Secure pets and plan for occupants
A mold inspection is not usually disruptive, but it does involve movement through multiple parts of the property, including less frequently used spaces. Pets should be secured so the inspector can work safely and efficiently. This also prevents doors from being left open or equipment from being disturbed.
If children, elderly residents, tenants, or employees will be present, let them know what to expect. In most cases, the inspection itself is safe to remain present for, but access and focus matter. If the issue is severe, the inspector may recommend further containment or testing steps after the initial assessment.
Be ready to discuss symptoms, but do not self-diagnose the building
Occupant symptoms can be relevant, especially when there is no large visible mold patch but indoor air quality concerns persist. Mention if symptoms improve when people leave the property or worsen in a specific room. That said, it is best not to assume the cause. Musty air, dust, humidity, bacterial growth, and ventilation problems can overlap.
The most effective inspections combine your observations with a trained evaluation of building materials, moisture conditions, and contamination pathways. A certified professional is looking beyond the obvious surface issue. The goal is to identify why mold is present, how far it may have spread, and what level of remediation is actually needed.
What not to do before the inspector arrives
A few common mistakes can reduce the value of the inspection. Do not scrub suspect areas with bleach, since that may alter the visible pattern without addressing hidden growth. Do not cut open drywall or ceiling material unless a professional has advised it. Do not place fans directly on moldy materials, because that can move spores to other areas. And do not assume that a dry-looking surface means the problem is gone. Moisture can remain trapped behind finishes long after the visible water has disappeared.
If you recently had a leak repaired, still mention it. Mold often develops after the initial plumbing or roofing issue appears to be resolved. The repair may have stopped the water source, but not the contamination left behind.
What a well-prepared inspection can lead to
When the property is accessible and the history is clear, the inspector can make faster and more confident recommendations. That may include identifying a minor localized issue, confirming the need for containment and removal, or recommending moisture correction and post-remediation verification. In more complex cases, it may also involve air quality testing or a broader evaluation of hidden building cavities.
For owners and managers, that clarity matters. It protects tenant health, supports insurance or maintenance documentation, and helps avoid the cost of incomplete cleanup. Companies such as Mold Removal Remediation approach this process as more than a surface inspection. The real value is in finding the source, defining the scope, and setting up a safe path to long-term correction.
If you suspect mold, preparation should be simple and controlled, not frantic. Leave the evidence in place, make the right areas accessible, and give the inspector a clear picture of what has been happening. A careful inspection starts with good access and honest information, and that is often the first solid step toward making the property safe again.