

A patch of mold on a bathroom ceiling or basement wall can look like a simple cleaning job. The risk is that disturbing mold incorrectly can release spores into the air, spread contamination to other rooms, and leave the moisture problem untouched. Knowing how to remove mold safely starts with recognizing what you can handle, what requires professional containment, and why the source of moisture matters as much as the visible growth.
For homeowners, landlords, property managers, and business owners, the goal is not to make a surface look clean for a day. It is to restore a dry, healthy indoor environment and prevent the mold from returning.
How to Remove Mold Safely Starts With an Assessment
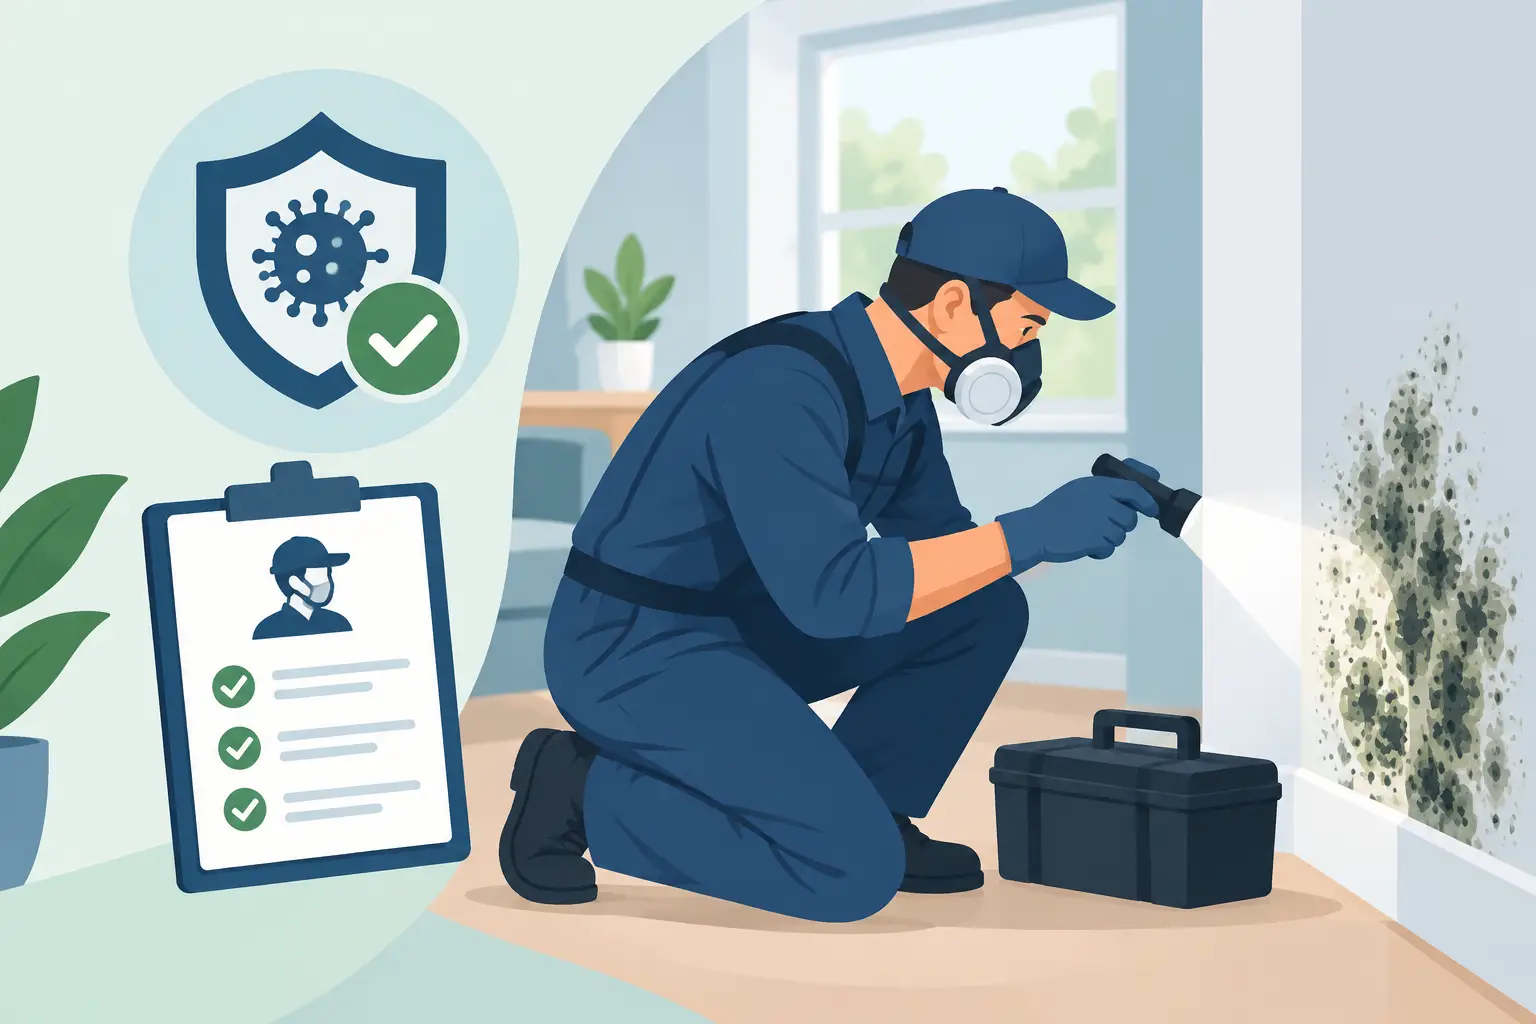
Before using a cleaner, assess the affected area. Mold may appear as black, green, gray, white, or brown spotting, but color alone does not identify the type or level of risk. A musty odor, peeling paint, warped drywall, recurring stains, or recent water damage can point to hidden growth behind walls, under flooring, or above ceilings.
Small, isolated mold growth on a hard, nonporous surface may be appropriate for careful cleaning. That does not mean every small-looking patch is minor. Mold can extend beyond what is visible, especially around plumbing leaks, window condensation, roof damage, flooded basements, and wet drywall.
Professional assessment is the safer choice when the affected area is large, the material is porous, there has been significant water damage, or occupants are experiencing persistent respiratory irritation. Homes and commercial spaces with young children, older adults, people with asthma, or immunocompromised individuals also deserve a more cautious response.
Know When DIY Cleanup Is Not Enough
Surface cleaning has limits. Mold roots can grow into drywall, insulation, carpet backing, ceiling tiles, particleboard, and other porous materials. In these situations, spraying and wiping the surface may remove discoloration while leaving contamination inside the material.
Do not attempt DIY removal if mold covers more than a small, contained area, if sewage or contaminated floodwater was involved, or if the growth is connected to an HVAC system. The same applies when mold is inside wall cavities, beneath flooring, in attic insulation, or around suspected asbestos-containing materials. Disturbing older building materials without proper testing can create an additional health and compliance concern.
A certified remediation team can determine the full extent of contamination using moisture meters, thermal imaging, visual inspection, and, when appropriate, air quality testing. This process identifies the moisture source and helps prevent a cleanup from becoming a recurring problem.
Prepare the Area Before You Clean
If the mold is minor and limited to a hard surface, preparation reduces the chance of spreading spores. Keep children, pets, and anyone with respiratory sensitivities away from the work area. Close doors to nearby rooms, and do not run fans that could blow spores through the property.
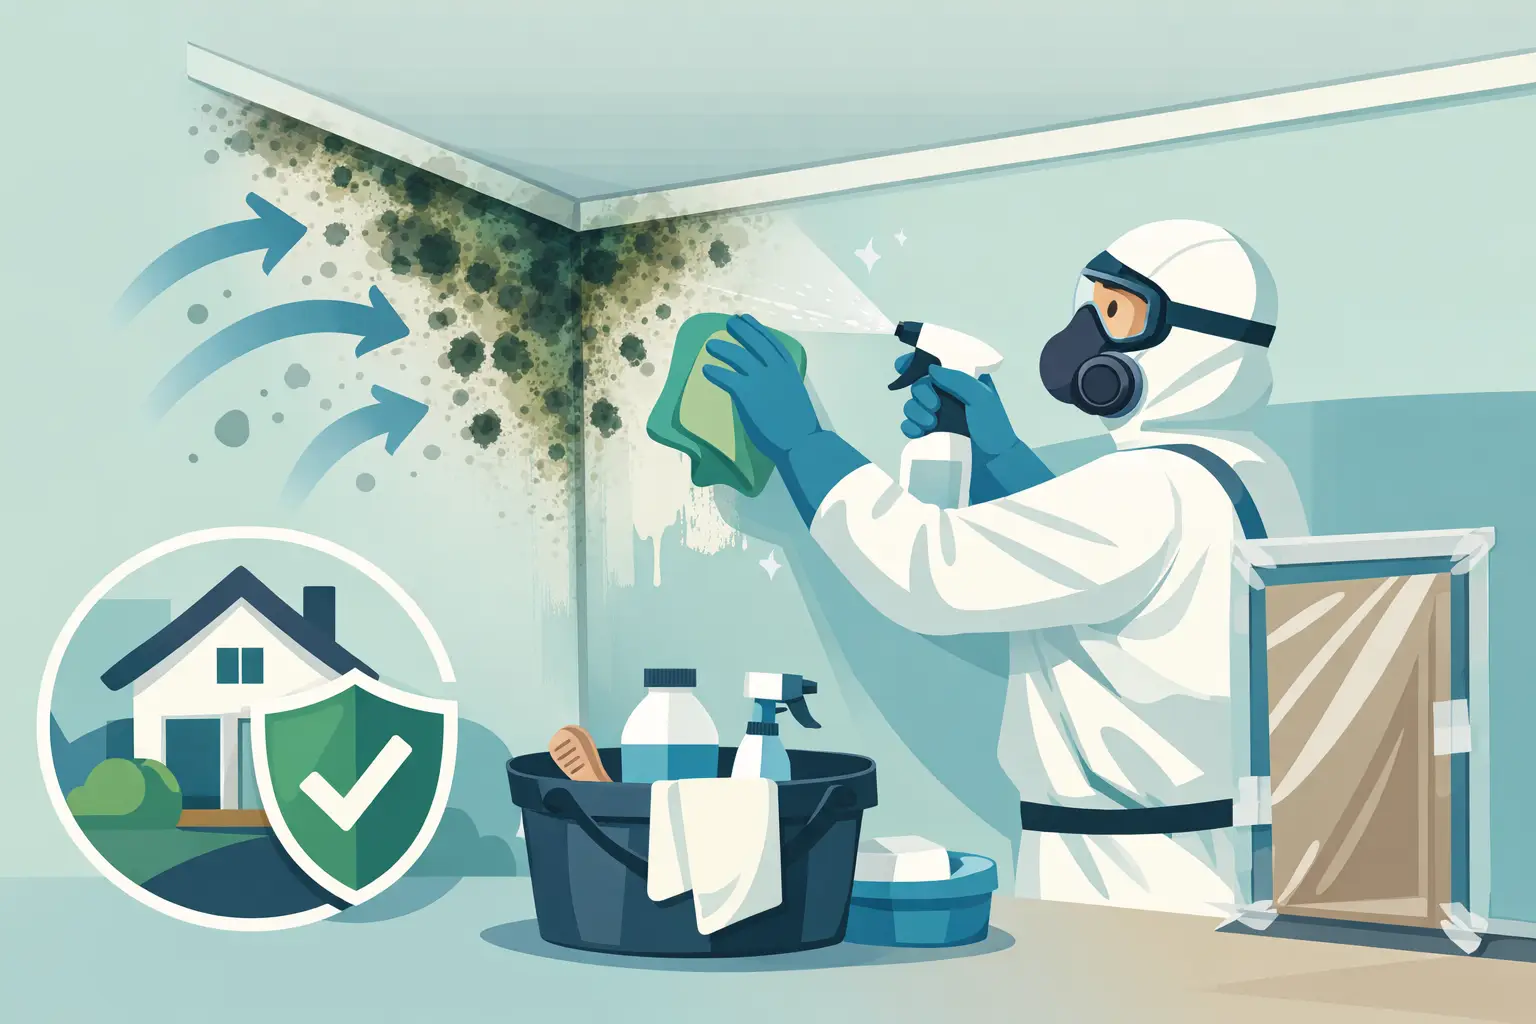
Wear appropriate personal protective equipment. At minimum, use disposable gloves, protective eyewear, and a properly fitted respirator rated for fine particles, such as an N95. Long sleeves and pants help keep spores off your skin and clothing. Avoid simply using a dust mask, which may not provide sufficient protection.
Place plastic sheeting or disposable coverings beneath the work area to catch debris. Have garbage bags ready before you begin so used wipes and disposable protective materials can be sealed immediately. Never dry-brush mold or scrape it aggressively, as this can send spores into the air.
Clean Nonporous Surfaces Carefully
For tile, glass, metal, sealed stone, and other nonporous surfaces, use a mild detergent and water or an appropriate mold-cleaning product according to its label directions. Apply the cleaner gently, wipe the surface with disposable cloths, and avoid soaking surrounding drywall, wood, or other absorbent materials.
The objective is physical removal, not just killing mold. Dead mold particles can still trigger allergic reactions in sensitive people, so residue should be wiped away rather than left on the surface. Change cloths often, place them directly into a sealed bag, and dispose of them after use.
Bleach is not a universal mold solution. It can irritate the lungs, damage certain surfaces, and does not reliably penetrate porous materials. Never mix bleach with ammonia, acids, or other cleaners. The resulting fumes can be dangerous. If you are unsure whether a cleaner is appropriate for the material, stop and seek professional advice.
After cleaning, dry the surface completely. Use a dehumidifier in a contained area if needed, but do not use equipment that blows air across exposed mold. The area should remain dry, clean, and free of musty odor after the work is finished.
Do Not Clean Mold From Porous Materials
Drywall, carpet, insulation, upholstered furniture, ceiling tiles, and unfinished wood are different from a tile wall. Once mold has penetrated these materials, removal and replacement are often necessary. Trying to wash or paint over contaminated drywall can trap moisture and conceal a problem that continues to grow.
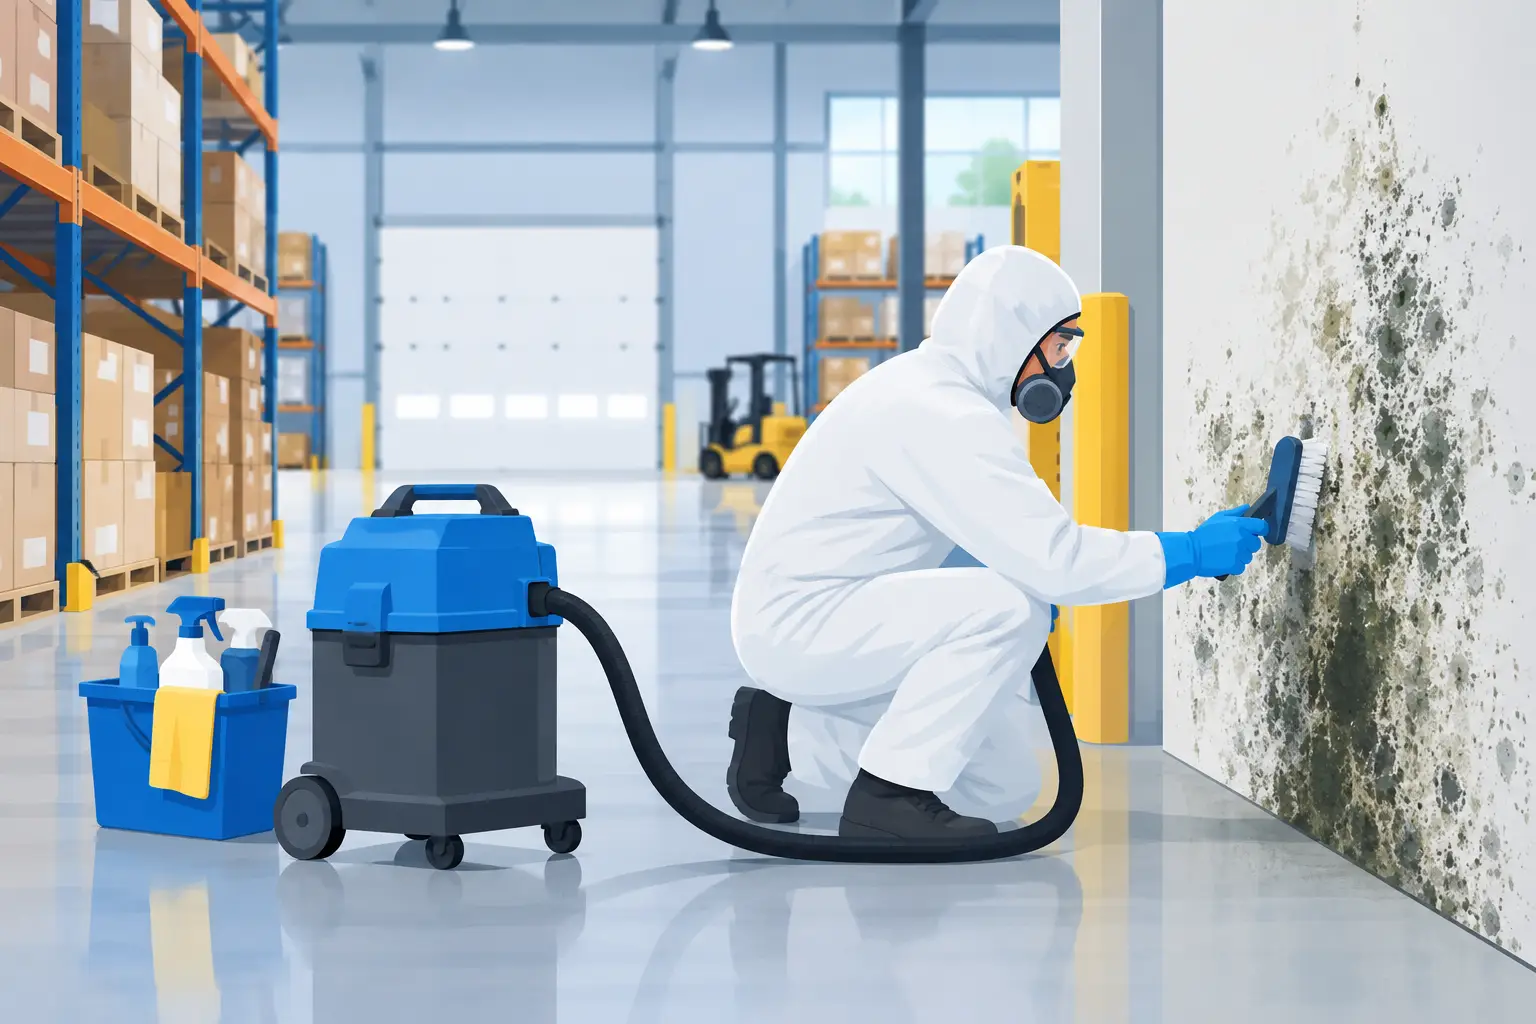
Professional mold remediation uses controlled removal methods, HEPA filtration, and negative air pressure to keep spores from migrating to clean areas. Affected materials are carefully bagged and removed, then remaining surfaces are HEPA-vacuumed and detailed-cleaned before repairs begin.
Fix the Moisture Source First
Mold needs moisture to grow. Without correcting the source, even a thorough cleaning may only provide temporary results. Look for active plumbing leaks, roof leaks, foundation seepage, poor drainage, wet insulation, condensation around windows, bathroom humidity, or inadequate ventilation.
Bathrooms and kitchens should have effective exhaust ventilation that vents outdoors. Basements often benefit from humidity control, particularly during wet weather. Keep indoor humidity at a reasonable level, dry spills quickly, and address water intrusion as soon as it is discovered.
After a leak or flood, the first 24 to 48 hours are critical. Wet materials should be dried quickly with appropriate equipment and monitoring. If drywall, insulation, or flooring remains wet for too long, mold can develop where it cannot be seen. This is one reason post-water-damage inspections are valuable even when a room appears dry on the surface.
Containment and Air Cleaning Matter for Larger Jobs
Larger mold projects require more than protective gloves and a cleaning spray. Professional remediation begins by isolating the affected zone with physical barriers. Negative air machines equipped with HEPA filtration help maintain airflow into the work area rather than allowing contaminated air to escape into hallways, bedrooms, offices, or common areas.
Workers use protective equipment suited to the scope of the job, and contaminated materials are removed under controlled conditions. Once removal is complete, detailed HEPA vacuuming and surface cleaning address settled particles. The area must be dried and the moisture source corrected before reconstruction is considered.
For properties with widespread contamination, a musty odor, tenant complaints, or previous unsuccessful cleanup attempts, post-remediation verification can provide added confidence. Visual inspection, moisture readings, and indoor air testing may be used to confirm that conditions have been properly addressed.
Watch for Signs That Mold May Be Hidden
Visible mold is not the only warning sign. Pay attention to recurring dampness, a persistent earthy odor, condensation, unexplained stains, bubbling paint, soft drywall, or symptoms that improve when occupants leave the building. These clues do not prove mold on their own, but they justify a closer inspection.
Hidden contamination is common after slow leaks behind appliances, inside wall cavities, beneath sinks, under laminate flooring, and in attics with ventilation or roof issues. Opening walls without containment can spread spores and dust through the property, so diagnostic work should be planned carefully.
Protect the Property, Not Just the Surface
Safe mold removal is a process: identify the moisture, determine the extent of contamination, contain the affected area, remove damaged materials when needed, clean thoroughly, and verify that the space is dry. Skipping any one of those steps can leave occupants exposed and property owners facing repeat damage.
If you are looking at a small patch on a nonporous surface, careful cleaning and prompt drying may be enough. If mold is recurring, widespread, hidden, connected to water damage, or affecting indoor air, treating it as a professional remediation issue is the safer decision. Acting early protects the building, the people inside it, and the value of the property.