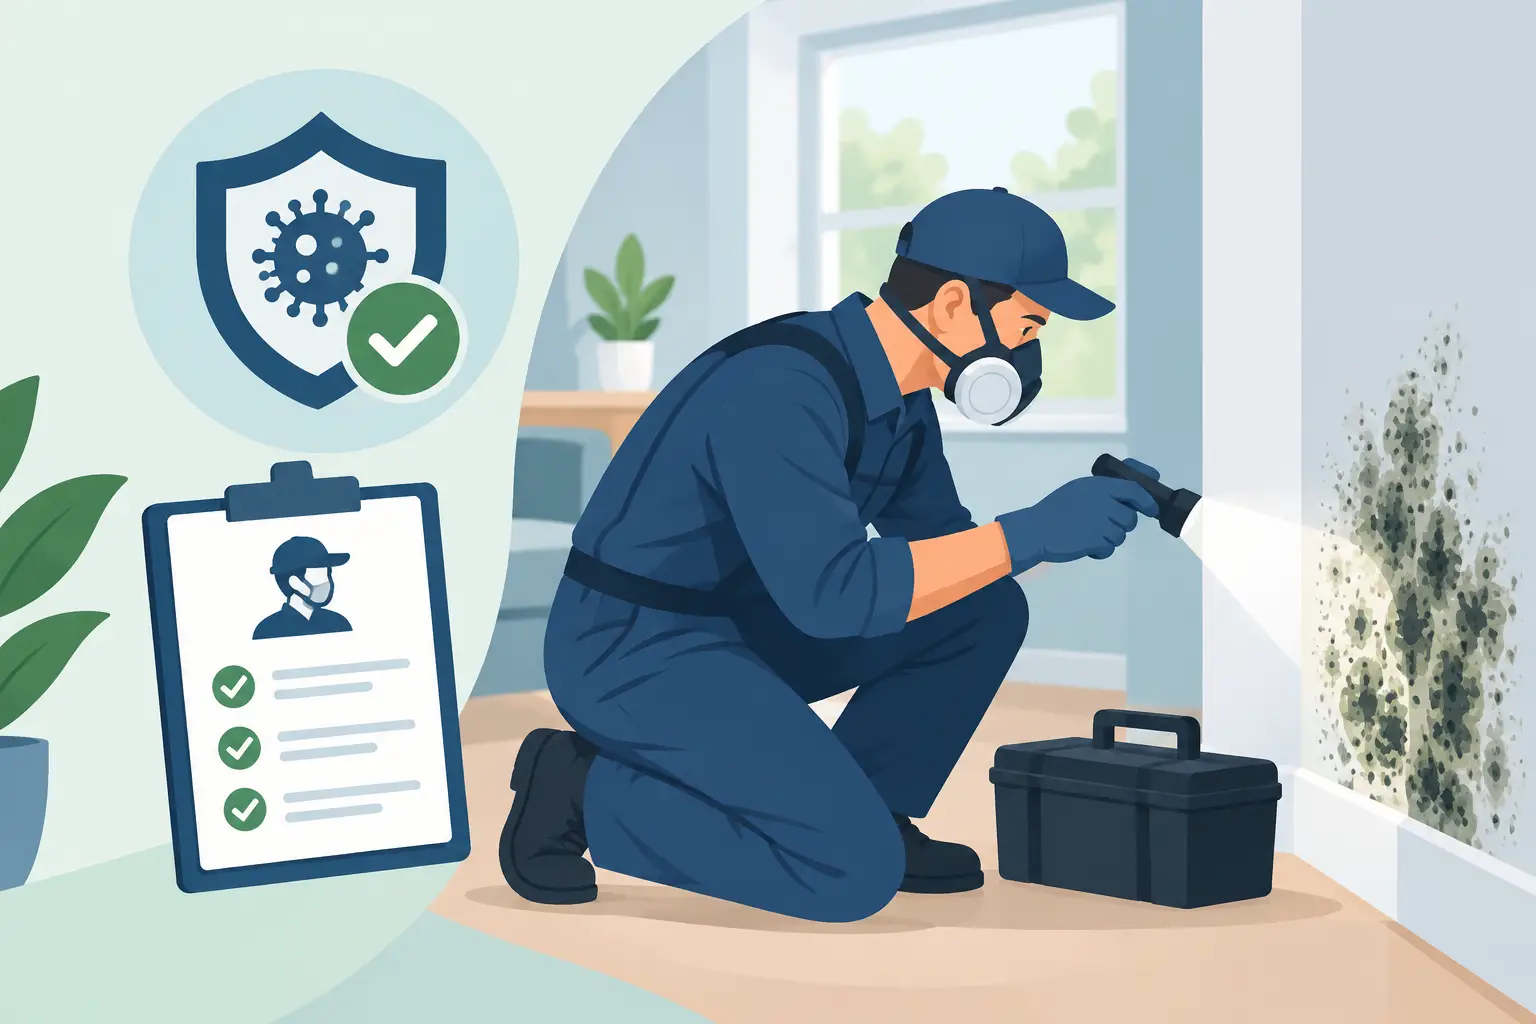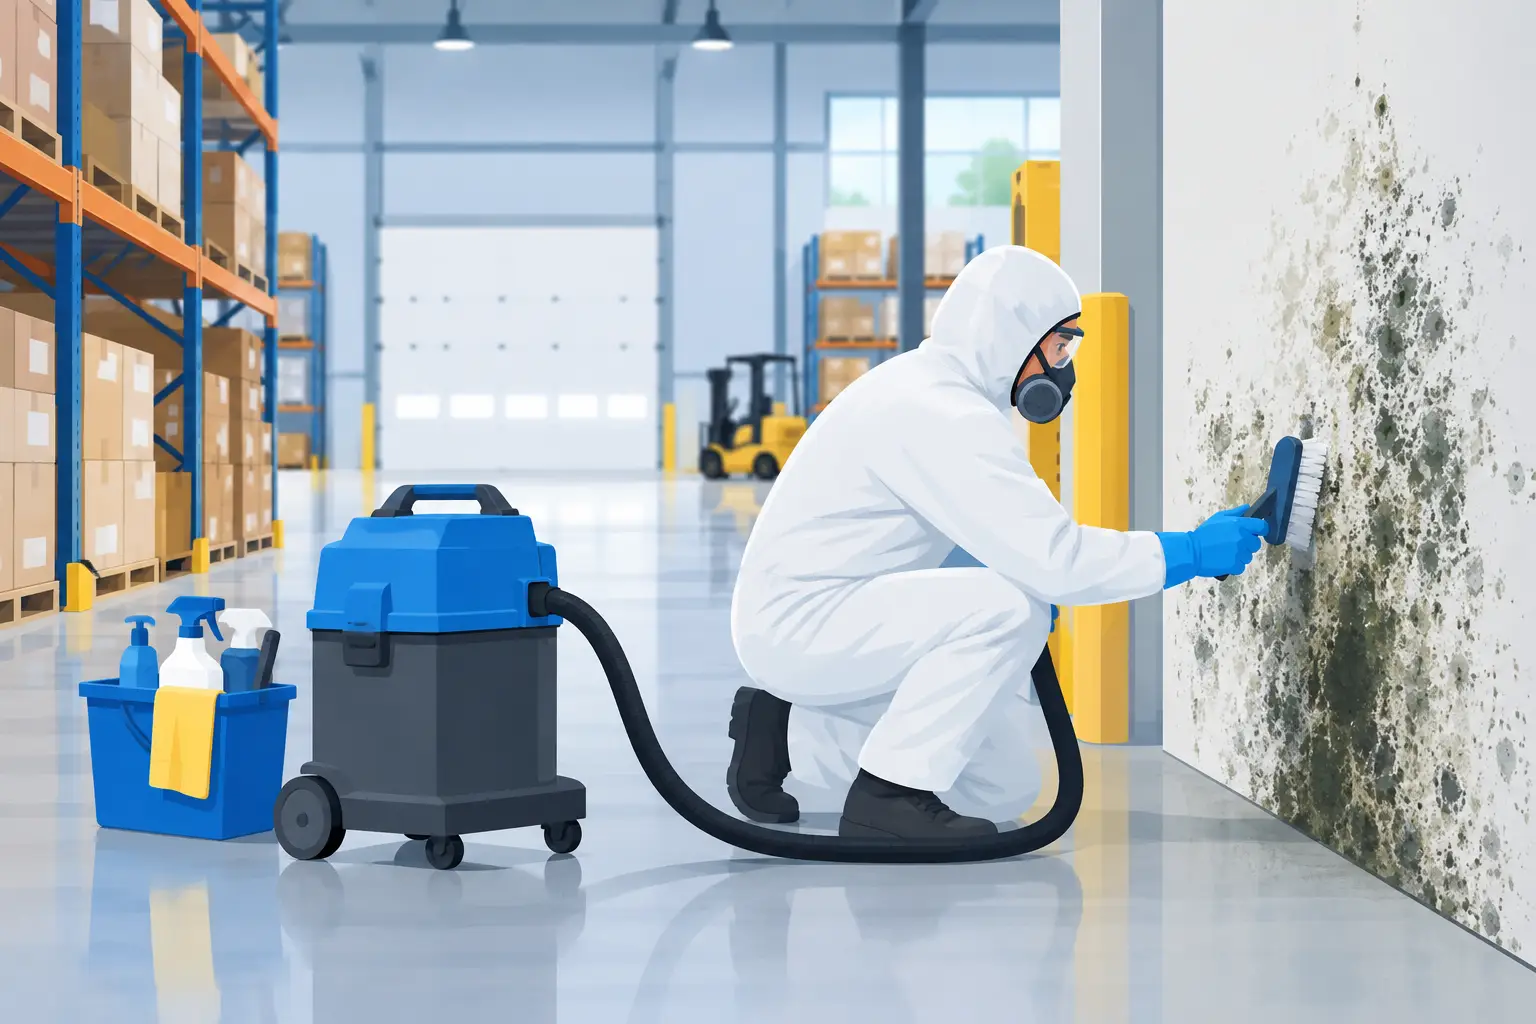



A remediation project is not complete because the visible mold is gone. The final question is whether the affected area is truly clean, dry, and safe to return to. This mold clearance testing guide explains how post-remediation verification works, what a qualified assessor looks for, and how property owners can avoid reopening a space before the underlying problem is resolved.
For homeowners, landlords, property managers, and business owners, clearance testing provides documented evidence that remediation work met the intended scope. It also helps protect occupants, reduce liability concerns, and prevent the costly cycle of cleaning mold only to discover it has returned.
What Mold Clearance Testing Means
Mold clearance testing, also called post-remediation verification, is an evaluation performed after mold removal and detailed cleaning are complete. Its purpose is not simply to find a low spore count on one air sample. A proper clearance assessment examines whether the contamination was removed, whether the moisture source was corrected, and whether the work area can be safely returned to normal use.
The process should be based on the original inspection findings and remediation scope. If mold was found behind drywall after a plumbing leak, for example, clearance should confirm that damaged materials were removed, framing is dry, dust and debris were cleaned, and containment was taken down only after the area met acceptable conditions.
Air testing can be useful, but it is only one part of the decision. A clean-looking room with elevated moisture or settled dust is not necessarily ready for clearance. Likewise, a single air sample should not be interpreted without considering outdoor conditions, building conditions, and the type of mold originally identified.
When Clearance Testing Is Worth It
Not every small surface-level mold issue requires formal air sampling. A limited area of mildew on a nonporous bathroom surface may be resolved through proper cleaning and moisture control. However, clearance testing becomes highly advisable when contamination is extensive, hidden, recurring, or connected to water damage.
It is especially valuable after a sewage backup, flood, roof leak, burst pipe, HVAC contamination, or mold growth inside walls, ceilings, crawl spaces, or attics. Commercial properties, multi-unit buildings, rental homes, childcare facilities, and offices may also need written clearance documentation to address tenant concerns, insurance requirements, property transactions, or internal health and safety procedures.
If occupants experienced persistent musty odors, respiratory irritation, or complaints before remediation, post-remediation verification provides a more defensible answer than a visual inspection alone. It does not diagnose health conditions, but it can confirm whether the indoor environment has been properly addressed from a building and contamination standpoint.
What a Proper Mold Clearance Testing Guide Should Include
A reliable mold clearance testing guide starts with the remediation plan, not the laboratory report. The assessor needs to know what was affected, how far contamination extended, what materials were removed, and how the moisture source was repaired. Without that context, a test result can be misleading.
Visual and Physical Inspection
The first step is a detailed inspection of the work area and adjacent spaces. The assessor checks that all visibly affected porous materials were removed when necessary, surfaces are free of dust and debris, and containment materials have been properly dismantled or cleaned.
They should also look for conditions that support future growth. Staining, damp insulation, wet framing, condensation, damaged vapor barriers, and unaddressed plumbing leaks all require attention. Mold removal without moisture correction is a temporary fix.
Professional tools such as moisture meters and thermal imaging can help identify wet materials that are not obvious to the eye. The target is not merely a dry surface. Materials should show moisture levels consistent with unaffected building materials in the same structure.
Cleaning and Dust Verification
Mold remediation creates a significant cleaning requirement. Even after damaged materials are removed, spores and fine dust may remain on framing, floors, ledges, HVAC components, and contents. HEPA vacuuming, damp wiping, and detailed cleaning are critical before clearance testing begins.
An assessor may use surface sampling in some situations, particularly when there is concern about remaining dust on a specific material. Surface samples are not always necessary, but they can help investigate a questionable area. The key is that the work zone should be visibly clean before testing. Clearance testing is not a substitute for proper cleaning.
Air Sampling and Comparison Results
Air samples are often collected inside the remediated area and from an outdoor location for comparison. Depending on the property and scope, samples may also be taken in nearby occupied rooms. These samples are sent to a laboratory to identify the general types and concentrations of airborne fungal structures present.
There is no universal rule that an indoor sample must contain zero mold spores. Mold is naturally present outdoors and can enter buildings through doors, windows, and ventilation. Instead, the indoor results should generally be consistent with normal outdoor ecology and should not show elevated levels or unusual concentrations associated with the original contamination.
A qualified professional interprets the results alongside the visual condition, moisture data, remediation records, and the building’s current use. Numbers without context can create false reassurance or unnecessary alarm.
When Should Clearance Testing Be Performed?
Clearance testing should occur after remediation, final cleaning, and drying are complete, but before containment is removed and the area is reoccupied whenever practical. This timing allows the remediation team to correct a problem while the work zone is still controlled.
For a large project, the area may need to sit for a period after HEPA filtration is turned off so airborne particles can settle before final cleaning and sampling. The exact timing depends on the remediation plan, the size of the area, airflow conditions, and the sampling method used.
Testing too early can produce results that reflect active work rather than final conditions. Testing after furniture, occupants, or contractors have re-entered can also complicate interpretation. Coordination between the remediation contractor and the clearance assessor matters.
Should the Clearance Assessor Be Independent?
For projects involving extensive contamination, insurance claims, tenant disputes, or sensitive commercial settings, an independent assessor is often the strongest option. Separating remediation from clearance testing can reduce perceived conflicts of interest and provide more credible documentation for all parties.
That said, the most important factors are competence, transparent reporting, and a scope that matches the actual problem. The person performing clearance should understand moisture dynamics, containment practices, safe work procedures, and the limits of mold sampling. A report that simply states “passed” without describing inspection observations, samples, methods, and findings offers limited protection.
Ask who will perform the assessment, what areas will be evaluated, whether moisture readings are included, and how results will be explained if a sample is elevated. Clear expectations prevent surprises at the end of the project.
What Happens If a Property Fails Clearance?
A failed clearance result does not always mean the entire remediation must start again. It means the issue needs investigation before the area is released. Common causes include incomplete cleaning, residual dust, wet materials, gaps in containment, an overlooked area of growth, or an ongoing water source.
The right response is to identify the reason for the result, correct it, and repeat the appropriate verification steps. If moisture remains elevated, drying and repair come first. If dust is present, detailed HEPA vacuuming and damp wiping may be required. If inspection reveals missed mold growth, the remediation scope may need to expand.
Do not remove containment or rush occupants back into the area solely to meet a schedule. A few additional days spent correcting the issue is usually far less expensive than reopening walls, relocating tenants, or managing another complaint later.
Documentation That Protects Your Property
Keep the initial inspection report, remediation scope, photos, moisture readings, invoices, and final clearance documentation together. For landlords and commercial property managers, these records show that complaints were addressed responsibly. For homeowners, they can be valuable during an insurance discussion or future property sale.
The final report should identify the inspected areas, note visual and moisture conditions, document the sampling approach if samples were collected, and explain the findings in plain language. You should understand not only whether the space cleared, but why.
A safe building starts with finding the water source, not just treating what can be seen. When remediation is followed by careful clearance verification, you gain practical evidence that the space is clean, dry, and ready to serve the people who depend on it.